Microcontrollers and Your Weather Station: An Introduction
Building a weather station is a fantastic project blending electronics, meteorology, and a bit of DIY ingenuity. While you can create a functional station with analog sensors and simple displays, incorporating a microcontroller opens up a world of possibilities for advanced data logging, processing, and communication. This article provides a gentle introduction to using microcontrollers, specifically focusing on popular options like Arduino and Raspberry Pi, and how they can elevate your DIY weather station.
What is a Microcontroller?
At its core, a microcontroller is a small, self-contained computer on a single integrated circuit. They're designed to perform specific tasks, making them ideal for embedded systems like a weather station. Think of it as the "brain" of your weather station, taking readings from your sensors, performing calculations, and potentially sending data to a computer or the internet. Common microcontrollers offer built-in analog-to-digital converters (ADCs) which are essential for reading the signals from your sensors. The accuracy of your sensor readings is paramount for a reliable weather station; ensuring proper thermometer calibration is a key step in the process. Ignoring this could lead to skewed data and inaccurate weather predictions.
Popular Choices: Arduino and Raspberry Pi
Two of the most popular microcontrollers for DIY projects are Arduino and Raspberry Pi. While both are versatile, they have distinct strengths:
Arduino: Simplicity and Direct Sensor Interaction
Arduino is known for its ease of use, especially for beginners. The Arduino IDE provides a simplified programming environment and a vast online community offering libraries and example code for countless projects. Arduino excels at directly interacting with sensors and actuators through its digital and analog pins. It is generally more power efficient than a Raspberry Pi, which is a consideration for remote weather stations. Building a functional weather station involves many components; even a simple building a simple rain gauge can be a great learning experience.
Pros: Easy to learn, large community support, low power consumption.
Cons: Limited processing power compared to Raspberry Pi.
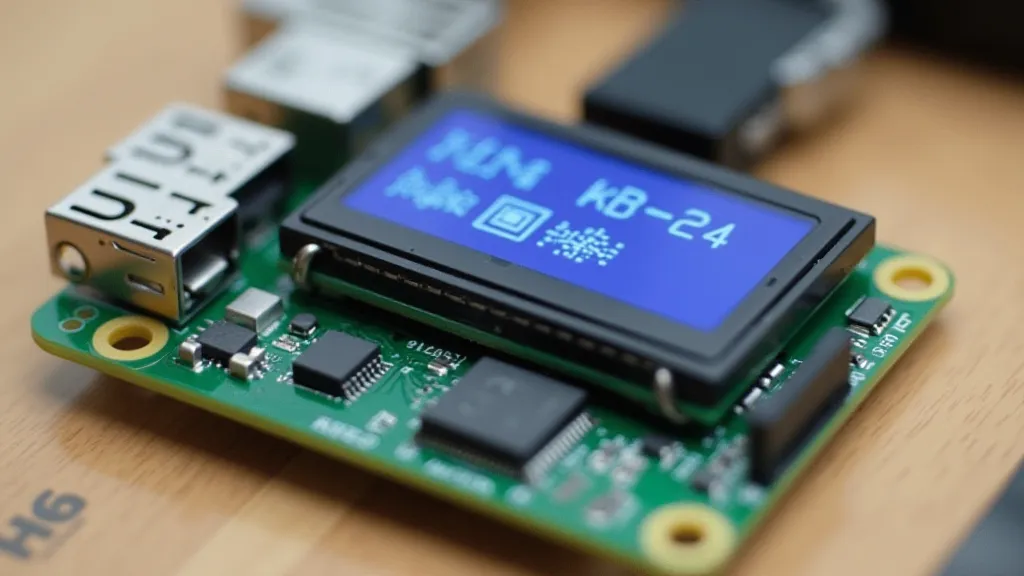
Raspberry Pi: A Mini-Computer for Advanced Capabilities
The Raspberry Pi is essentially a miniature computer. It runs a full operating system (usually Linux) and can handle more complex tasks such as web server functionality, data storage, and sophisticated data analysis. While it might require a bit more initial setup, its increased processing power opens up possibilities for advanced features like graphical displays, network connectivity, and machine learning for weather prediction (though that's a more advanced project!). The possibilities with a Raspberry Pi are extensive, but even common issues can arise; knowing how to troubleshooting common weather station problems is a valuable skill for any DIY enthusiast.
Pros: Powerful processing capabilities, full operating system, versatile.
Cons: Higher power consumption, steeper learning curve compared to Arduino.
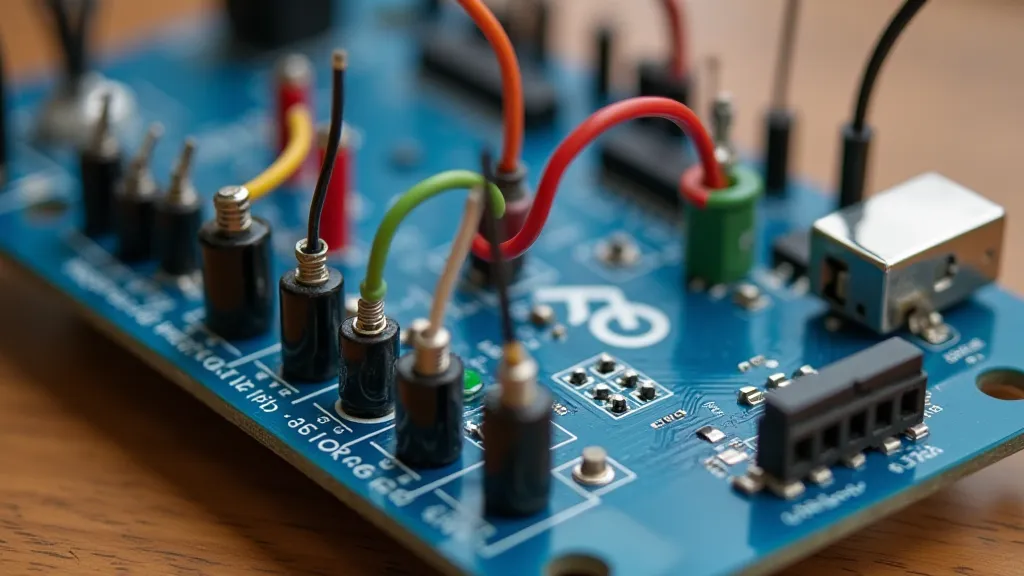
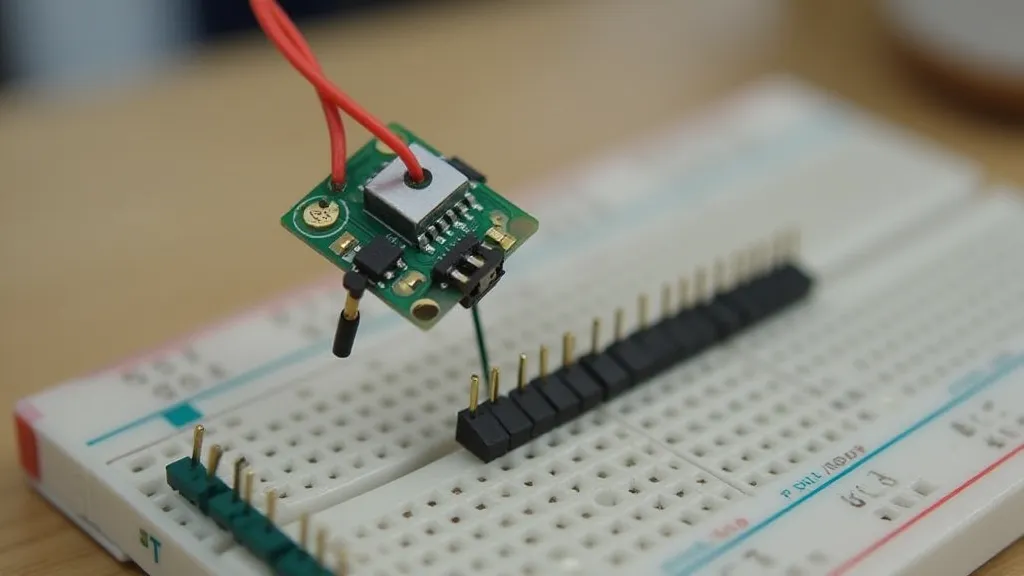
Connecting Sensors to Your Microcontroller
Regardless of whether you choose Arduino or Raspberry Pi, connecting your weather sensors is a crucial step. Most sensors output an analog signal (voltage) that represents the measured value. This signal needs to be converted to a digital value that the microcontroller can understand. Careful sensor selection and proper wiring are critical; a small mistake can lead to inaccurate readings or even damage to your components.
Arduino: Uses its built-in ADC pins to read analog signals. Libraries like the DHT sensor library simplify the process of reading temperature and humidity sensors. Consider the long-term data collection when choosing your microcontroller; the ability to connecting your weather station to the internet is often a key requirement for remote monitoring and data sharing.
Raspberry Pi: While it has an ADC, it’s less convenient to use directly. You often use an external ADC chip or use a simpler digital interface. Many sensors come with digital interfaces (like I2C or SPI) that are straightforward to implement on a Raspberry Pi. Understanding these interfaces and how they interact with your chosen microcontroller is a fundamental aspect of building a reliable weather station.
Choosing the Right Sensors
Beyond the microcontroller, the selection of sensors is critical. Temperature, humidity, wind speed, wind direction, rainfall, and barometric pressure are standard measurements. Consider the environmental conditions where your weather station will be deployed. For example, a coastal station will require sensors designed to withstand salt spray and humidity, while a desert location needs protection from extreme heat and UV radiation. There are numerous sensors available, each with its own accuracy, range, and cost. Researching different sensor options and comparing their specifications will help you make informed decisions.
Powering Your Weather Station
Powering a remote weather station can be challenging. Consider the availability of AC power and the potential for battery operation. Solar panels are an excellent option for remote locations, but require careful consideration of panel size, battery capacity, and charge controller functionality. A robust power system is essential for reliable data collection and long-term operation. Low-power microcontrollers, like the Arduino, are particularly well-suited for battery-powered operation, while Raspberry Pi devices typically require a more substantial power supply.
Data Logging and Communication
Once your weather station is collecting data, you'll need a way to store and communicate it. Microcontrollers can be programmed to log data to an SD card, transmit it wirelessly to a computer, or upload it to a cloud-based platform. Cloud platforms offer numerous benefits, including remote access, data visualization, and alerting capabilities. However, they also introduce potential security risks that need to be addressed.
Getting Started: Resources & Next Steps
Ready to dive in? Here are a few resources to help you:
- Arduino: The official Arduino website is a great place to start with tutorials and project examples.
- Raspberry Pi: The Raspberry Pi Foundation offers extensive documentation and project guides.
- Online Forums: Numerous online forums and communities are dedicated to Arduino and Raspberry Pi projects where you can ask questions and find inspiration.
This article provides a foundational understanding of using microcontrollers in your weather station. The possibilities are virtually limitless – experiment, learn, and build! Consider the environmental factors at play in your specific location, and always prioritize safety when working with electronics and power systems. With careful planning and execution, your DIY weather station can provide valuable insights into local weather patterns and contribute to a better understanding of our planet's climate.
Building a successful weather station isn't just about the hardware; it's also about understanding the science behind meteorology and the data you've collected. Regular calibration and maintenance are essential for ensuring accuracy and reliability. Be prepared to troubleshoot issues and learn from your experiences. The journey of building a DIY weather station is a rewarding one, combining electronics, science, and a bit of ingenuity.
For more in-depth information on specific components and techniques, explore the resources listed above and engage with the online communities. Remember to document your project, share your findings, and inspire others to build their own weather stations. The collective knowledge of the DIY weather community is a valuable asset, and your contributions can help others learn and grow.