DIY Anemometer: Measuring Wind Speed with Simple Materials
Want to build a simple weather station? One of the most crucial measurements you'll need is wind speed. This article will guide you through building your own anemometer using readily available and inexpensive materials. It's a fantastic science project for students and a rewarding build for any DIY weather enthusiast! Before you dive in, consider the best spot for your budding weather station – a well-chosen location is key to getting meaningful data. More on that in our article on Choosing the Right Location for Your DIY Weather Station.
What is an Anemometer?
An anemometer is a weather instrument used to measure wind speed. The most common type, and the one we're building, uses rotating cups to detect the force of the wind. The faster the cups spin, the higher the wind speed.
Materials You'll Need
Cup Material: 4 small plastic cups (yogurt cups or similar work well)
Connecting Rods: Two sturdy straws or small dowels
Pivot Point: A small, sturdy object to act as the central pivot (e.g., a pencil, a small plastic tube)
Base: A stable base to mount the anemometer (cardboard, wood, plastic)
Support Structure: A thin rod or wire to hold the rotating assembly.
Glue/Tape: Strong adhesive for assembling the parts.
Ruler/Measuring Tape: For accurate measurements.
Scissors/Craft Knife: For cutting materials (adult supervision required for craft knives).

Step-by-Step Instructions
Prepare the Cups: Ensure the cups are clean and have roughly the same weight. Any significant weight difference will cause uneven rotation. Ensuring a consistent weight across all cups contributes significantly to data accuracy, and this accuracy can be further refined by integrating your anemometer into a larger, interconnected weather system.
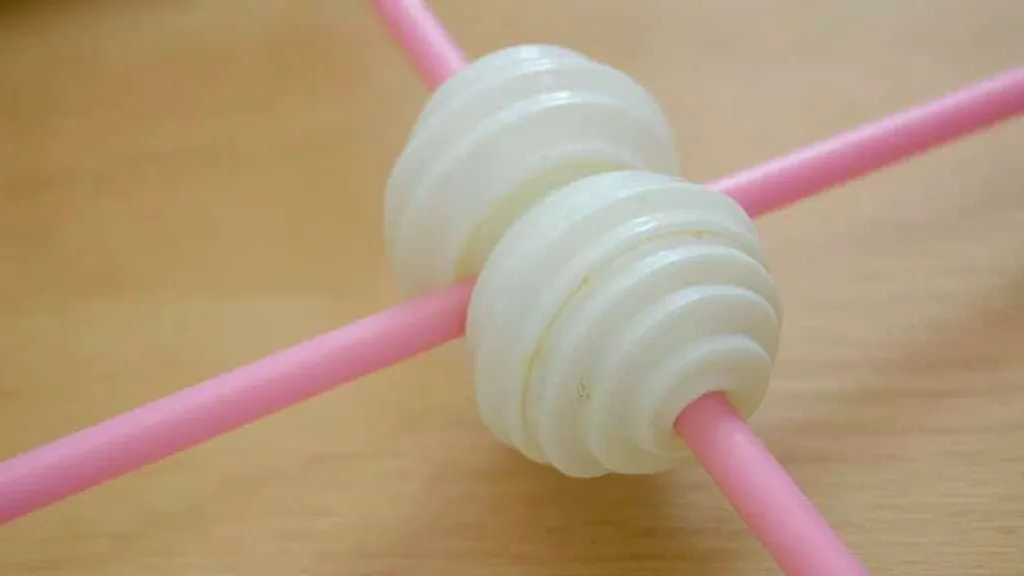
Assemble the Cross: Glue or securely tape two straws/dowels perpendicular to each other, forming a cross shape. This will be the core of your anemometer. Ensure the straws are balanced. Proper balance minimizes friction and improves the anemometer's responsiveness to changes in wind speed.
Attach the Cups: Glue or tape a cup to the end of each straw/dowel. Make sure the cups are oriented in the same direction, all facing the same way. This is important for even wind capture. The consistent direction of the cups ensures that they all experience the wind's force in the same way, contributing to a more reliable reading.
Create the Pivot: Carefully glue or securely fasten the cross structure to the pivot point (pencil or tube). The pivot needs to be free to rotate smoothly. A free-spinning pivot is essential for accurate measurements.
 Build the Base: Create a stable base that can support the anemometer and allow it to rotate freely. A simple cardboard or wood stand will work. A stable base is fundamental to avoid external vibrations influencing the readings.
Mount the Anemometer: Secure the pivot point to the base so that the anemometer can spin freely. Ensure it's not obstructed.
Testing and Calibration (Important!): This is the trickiest part. You'll need a way to correlate the number of rotations with actual wind speed. This can be done by:
Visual Counting: Simply count the rotations over a set time (e.g., 30 seconds) and extrapolate. This is less accurate. The accuracy of this method can be increased by using video recording and frame-by-frame analysis.
Stop-Motion Method: Use a smartphone to record the anemometer rotating, then use video editing software to count the rotations frame by frame. This method offers improved precision compared to visual counting.
After performing the above measure wind speed with a weather app or station nearby and calibrate your anemometer based on it. For even more advanced weather data collection, you could consider integrating your anemometer with a microcontroller to automate the data logging and analysis. Check out our article on Microcontrollers and Your Weather Station: An Introduction to learn more!

Understanding Your Results
Once you’re calibrated, you can use your anemometer to track wind speed over time. This data can be used to study weather patterns in your local area and contribute to your overall weather station project. Remember that DIY anemometers are not as accurate as professional instruments, but they provide a valuable learning experience and a fun way to engage with meteorology. Collecting and analyzing this data over extended periods can reveal fascinating trends in local wind patterns. Furthermore, you could potentially connect your anemometer to the internet to share your data with others. Our guide on Connecting Your Weather Station to the Internet (Simple Options) explains how to do just that.
Expanding Your Weather Station
Building an anemometer is just the beginning! A comprehensive weather station typically includes other sensors like thermometers, barometers, and hygrometers. Combining data from multiple sensors allows for a more complete understanding of your local weather conditions. It’s a truly rewarding process to see your data visualized, perhaps through graphs and charts. Consider the integration of cloud services and APIs to automate data processing and create interactive weather dashboards. Further down the line, you might consider constructing a rain gauge or a solar radiation sensor to fully enhance your capabilities.
Troubleshooting Common Issues
Even with careful construction, your anemometer might encounter some challenges. Cups may become misaligned, the pivot point may experience friction, or the base might become unstable. Regularly inspect your anemometer for any signs of wear and tear. A gentle cleaning with a soft cloth can remove any debris that might be interfering with the rotation. Ensure that the anemometer is shielded from direct sunlight and strong winds to prevent overheating and damage. With careful attention and regular maintenance, your anemometer will provide years of reliable weather data.
Safety Note:
Always exercise caution when using sharp tools like scissors or craft knives. Adult supervision is recommended for younger builders.


