Building a Simple Weather Station Enclosure
Protecting your weather station instruments from the elements is crucial for accurate and reliable data. Rain, snow, intense sunlight, and wind can all damage sensitive sensors, shortening their lifespan and compromising your measurements. This article will guide you through constructing a basic, yet effective, enclosure for your DIY weather station, using readily available materials.
Why You Need an Enclosure
A good enclosure does more than just keep the rain off. It shields your instruments from:
- Sunlight: Excessive heat can skew temperature readings and degrade plastic components. Understanding the impact of environmental factors on your measurements is key – and choosing the right location for your weather station is the first step.
- Rain and Snow: Water ingress can corrode metal parts and damage electronic circuits.
- Wind: Strong winds can create false readings and physically damage delicate sensors.
- Dust and Debris: Accumulation of dust can obstruct sensors and affect accuracy.
- Animals: Protecting your station from critters is vital for maintaining a functional and clean device.
Materials Needed
- Wood: Plywood (exterior grade recommended) or treated lumber are good choices. Thickness around ½ inch is sufficient.
- Screws or Nails: Exterior grade screws are generally preferred for their holding power.
- Caulk or Sealant: To seal seams and prevent water penetration.
- Saw: For cutting the wood to size.
- Drill: For pre-drilling screw holes.
- Measuring Tape and Pencil: For accurate measurements and marking.
- Ventilation Grills (optional): For airflow and to prevent excessive heat buildup.
- Weather-Resistant Paint or Stain (optional): Extends the life of your wooden enclosure.
Design Considerations
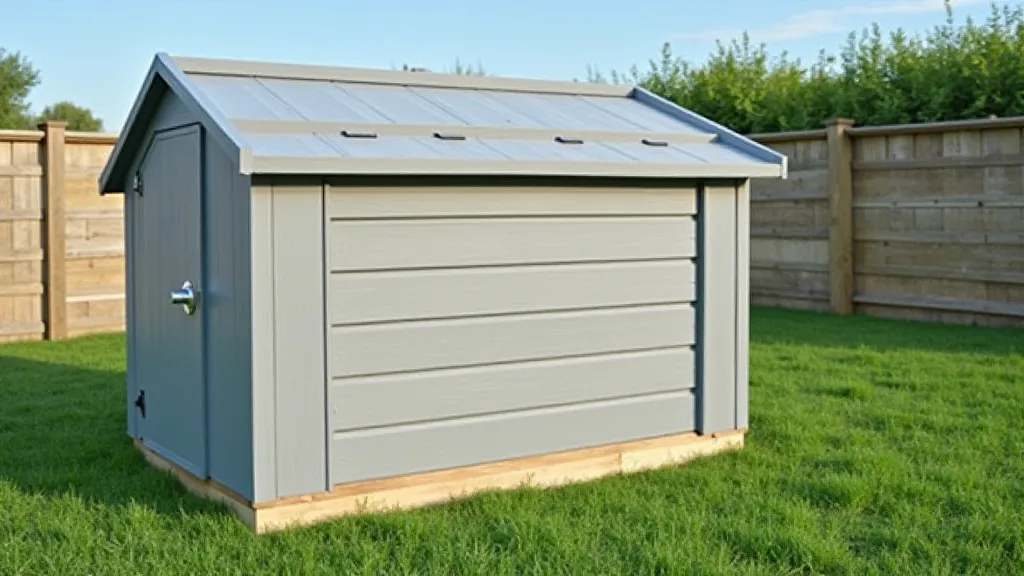
The size of your enclosure will depend on the size of your weather station components. Allow ample space around each sensor to prevent interference between them. A sloped roof is recommended to shed rain and snow effectively. Consider mounting the enclosure securely to a post or wall to prevent it from being blown over by strong winds. Before you even begin construction, it's important to consider how your location may influence the data collected, and learning about choosing the right location for your weather station can significantly impact your results.
Construction Steps
- Cut the Wood: Based on your design and the dimensions of your sensors, cut the wood pieces for the base, sides, front, back, and roof. Accurate measurements are crucial for a sturdy and well-fitted enclosure.
- Assemble the Base: Join the side pieces to the base piece using screws or nails. Ensure the corners are square. Using a carpenter’s square will help with this.
- Attach the Front and Back: Secure the front and back pieces to the assembled base and sides. Remember to pre-drill holes to avoid splitting the wood.
- Install the Roof: Attach the roof pieces to the top of the enclosure, ensuring a slight overhang to protect the sides from rain. A good overhang is especially helpful in areas with heavy snowfall.
- Seal the Seams: Apply caulk or sealant to all seams and joints to prevent water leakage. Pay particular attention to where the roof meets the sides. Applying sealant properly is paramount to ensure a long-lasting enclosure.
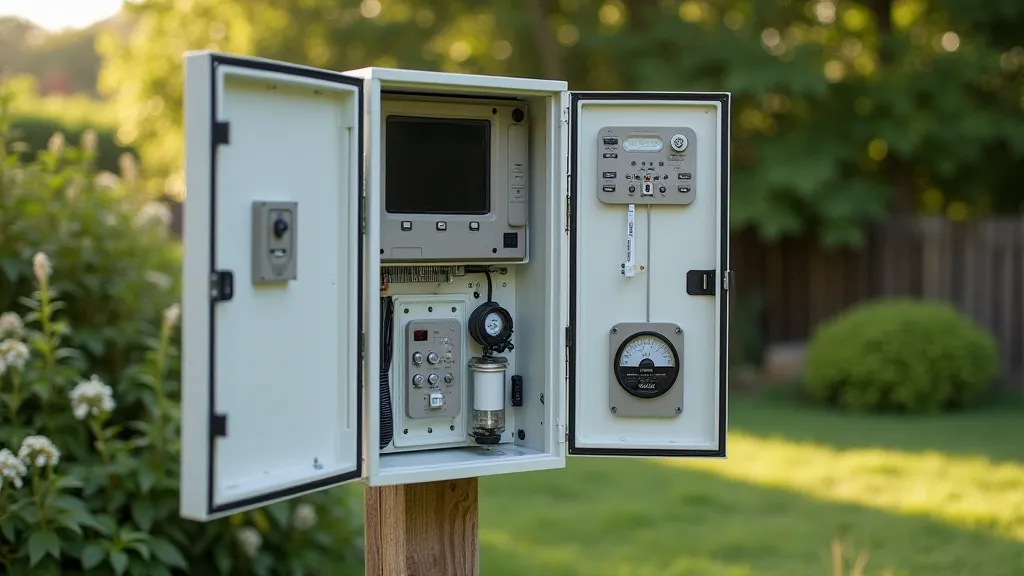
- Add Ventilation (Optional): If desired, cut holes in the sides and attach ventilation grills to allow for airflow. Excessive heat can dramatically alter temperature readings, so proper ventilation is vital. If you're experiencing issues with your weather station data, troubleshooting common weather station problems might be a good place to start.
- Mount the Weather Station: Carefully place your weather station sensors inside the enclosure, ensuring they are securely mounted and protected. Make sure each sensor has a clear path to the environment.

Understanding Humidity and its Measurement
One of the most important data points a weather station provides is humidity. Understanding how humidity affects the atmosphere and how it's measured is vital for accurate data interpretation. Humidity, simply put, is the amount of water vapor in the air. It influences temperature, precipitation, and overall climate conditions. Accurate humidity measurements require calibrated sensors and a properly designed enclosure to shield them from direct sunlight and other environmental factors. Without understanding the fundamentals, it's easy to misinterpret the readings and draw incorrect conclusions.
Tips for Success
- Use Exterior Grade Materials: This is critical for longevity. Using untreated lumber will result in a much shorter lifespan for your enclosure.
- Pre-Drill Holes: This prevents the wood from splitting when driving screws. This is especially true with hardwoods.
- Ensure a Tight Seal: Proper sealing is the key to protecting your instruments from the elements. Regularly inspect the sealant and reapply as needed.
- Consider Ventilation: Prevents excessive heat buildup. Remember that ventilation needs to be balanced with protection from rain and snow.
- Regularly Inspect the Enclosure: Look for cracks or leaks and repair them promptly. Early detection and repair can prevent costly damage to your weather station.
- Calibrate Your Sensors: Regularly calibrating your sensors ensures the accuracy of your data.
Common Pitfalls to Avoid
While building a weather station enclosure is a relatively simple project, certain mistakes can compromise its effectiveness. One common error is neglecting the importance of proper ventilation. An enclosure that is completely sealed can trap heat, leading to inaccurate temperature readings. Conversely, an enclosure with too much ventilation can expose the sensors to rain and snow. Finding the right balance is key. Another pitfall is using cheap materials that are not resistant to the elements. These materials will quickly deteriorate, requiring frequent repairs or replacements. Finally, failing to properly seal the seams and joints can allow water to enter the enclosure, damaging the sensors.
Beyond Temperature and Humidity: Exploring Other Weather Variables
A well-equipped weather station doesn't just measure temperature and humidity. It also tracks other crucial variables like wind speed, wind direction, rainfall, and even barometric pressure. Each of these measurements requires specialized sensors and careful consideration of placement and protection. For example, a rain gauge needs to be placed in an open area, free from obstructions that could block rainfall. A wind vane needs to be mounted high enough to avoid interference from buildings or trees. A barometer needs to be shielded from direct sunlight and temperature fluctuations.
Conclusion
Building a simple enclosure for your DIY weather station is a straightforward project that can significantly extend the life and accuracy of your instruments. By following these steps and using readily available materials, you can create a durable and protective home for your weather monitoring system. Understanding the nuances of weather measurement and the principles behind accurate data collection is an ongoing learning process. And if you're struggling to get your weather station running smoothly, understanding understanding basic weather instruments can provide valuable insights.