Building a Simple Rain Gauge: A Step-by-Step Guide
A simple, cost-effective rain gauge is a vital part of your weather station. Accurately measuring rainfall is a fundamental piece of meteorological data, and building your own is a rewarding science project and a practical addition to your DIY weather station. This guide provides easy-to-follow instructions to build a basic rain gauge you can be proud of.
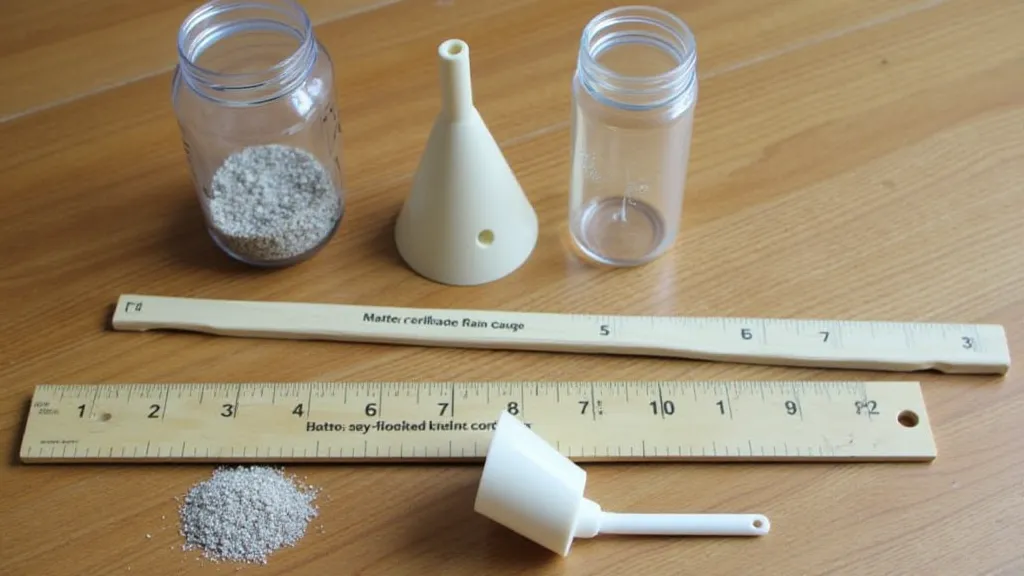
What You'll Need
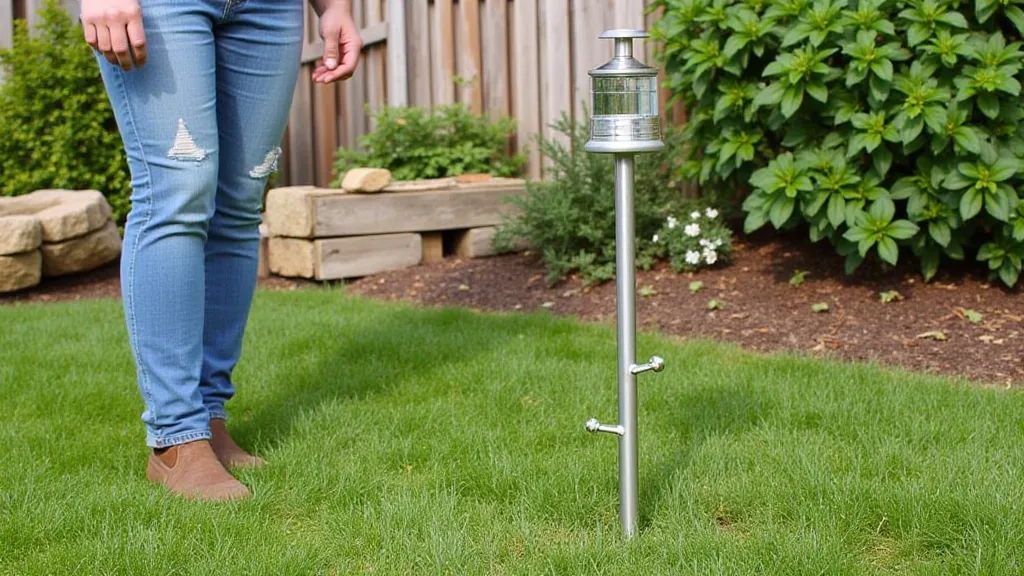
- A straight-sided cylindrical container (e.g., a large coffee can, a plastic juice bottle with the top cut off, or a mason jar). The wider the container, the larger the surface area collecting rain, but you'll need to account for that in your calculations.
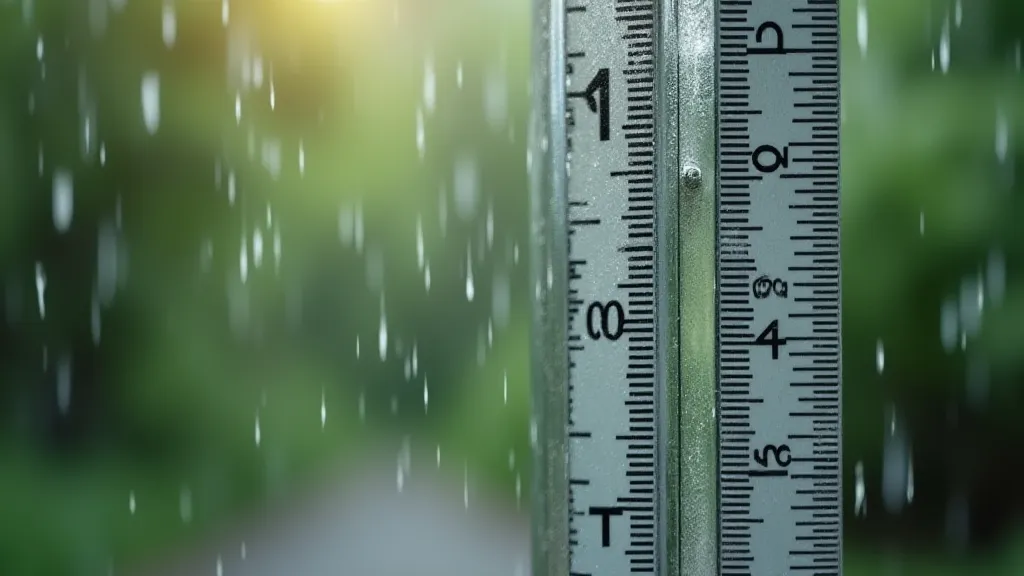
- A ruler or measuring tape (metric measurements are highly recommended for accuracy)
- A funnel (optional, but helpful for directing rain into a smaller container)
- Gravel or small rocks (for stability)
- Water (for leveling the gauge)
Step 1: Preparing the Container
The container needs to be clean and have straight, vertical sides. Any slope will skew your measurements. If you're using a plastic bottle, carefully cut the top off, ensuring the cut is as even as possible. Wash the container thoroughly to remove any residue that could affect accuracy.
Step 2: Adding Stability
Place a layer of gravel or small rocks at the bottom of the container. This will help weigh it down and prevent it from tipping over, especially during strong winds or heavy rainfall. A layer of about 1-2 inches is usually sufficient.
Step 3: Leveling the Gauge
This is crucial for accurate readings. Place the rain gauge on a level surface, away from trees, buildings, or anything that could obstruct rainfall. Use water to help fine-tune the leveling. A spirit level can be helpful, but careful observation of the water line is often sufficient.
Step 4: Taking Measurements
Rainfall is measured in millimeters (mm) or inches. Use a ruler or measuring tape to check the water level after a rain event. Read the measurement from the bottom of the meniscus (the curved surface of the water).
Step 5: Understanding Your Data
Keep a record of your daily rainfall measurements. You can create a simple chart to visualize the data over time. This will allow you to identify patterns and trends in your local rainfall.
Important Considerations
- Location: Place your rain gauge in an open area, away from obstructions that could interfere with rainfall collection.
- Evaporation: On sunny days, some water may evaporate from your gauge. Try to take readings as soon as possible after the rain stops.
- Maintenance: Periodically clean your rain gauge to remove any debris that may have accumulated.
- Corrections for Container Size: If using a wide-mouthed container, you might need to apply a correction factor to accurately reflect the rainfall across a wider area. This is a more advanced topic but worth researching if you're aiming for high accuracy.
Conclusion
Building a simple rain gauge is a fun and educational project that adds a valuable piece of equipment to your weather station. With a few basic materials and a little bit of care, you can start collecting your own rainfall data and learn more about the weather in your area. Enjoy your DIY meteorology!