Building a Simple Rain Gauge: Step-by-Step Instructions
Welcome to your DIY weather station journey! One of the most fundamental and essential measurements a weather station provides is rainfall. This article provides a comprehensive, step-by-step guide to building a simple, accurate rain gauge. Whether you're a seasoned DIY enthusiast or just starting out with meteorology and science projects, these instructions will have you measuring precipitation in no time. Setting up a weather station can seem daunting at first, but understanding the basic measurements is a great first step!
What You'll Need: Materials List
- A Straight-Sided Container: A cylindrical or square container with straight sides works best. A large, clean plastic bottle (2-liter soda bottle is ideal) or a can is perfect. The wider the container, the larger the collection area, but accuracy will be affected (more on that later).
- A Ruler or Measuring Tape: Precision is key!
- Scissors or Utility Knife: For cutting the container (adult supervision required if children are involved).
- Small Rocks or Gravel: To weigh down the rain gauge and prevent it from tipping over.
- Water (for Calibration): Tap water will do.
- Permanent Marker: For marking measurement lines.
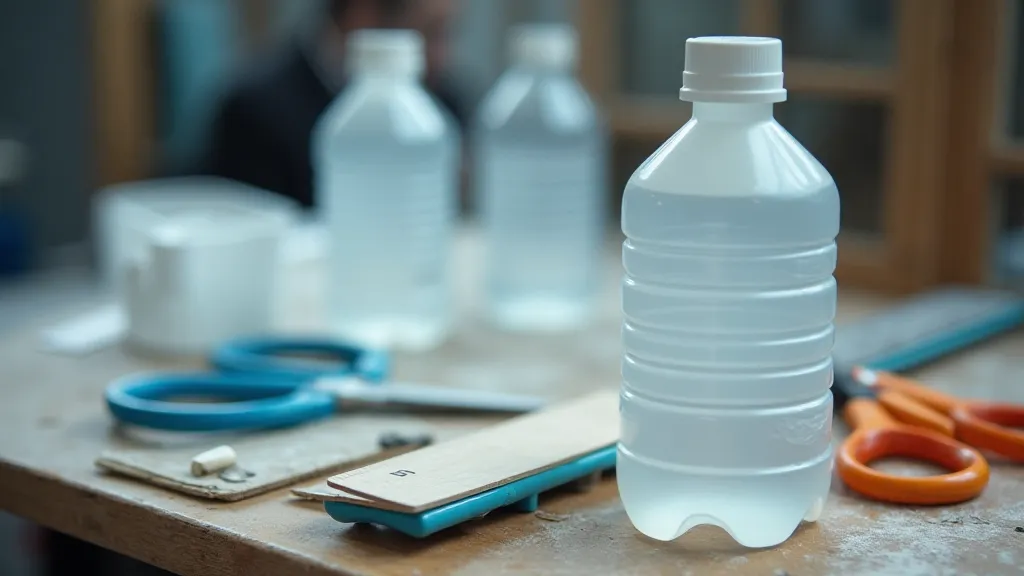
Step 1: Preparing the Container
If using a plastic bottle, you’ll need to cut it. Measure about 4-6 inches from the bottom of the bottle and carefully cut around the circumference. Discard the top portion (or recycle it!). If using a can, ensure all sharp edges are carefully smoothed with sandpaper or a file. Safety first! Properly protecting your weather station equipment, like the rain gauge, is essential for long-term reliable data. For more information about building a protective enclosure, check out Building a Simple Weather Station Enclosure. This article explores options for shielding your equipment from the elements and ensuring accurate readings in all conditions.
Step 2: Adding Weighing Material
Place a layer of small rocks or gravel (about 1-2 inches) at the bottom of your container. This will provide stability and prevent the rain gauge from tipping over during windy conditions.
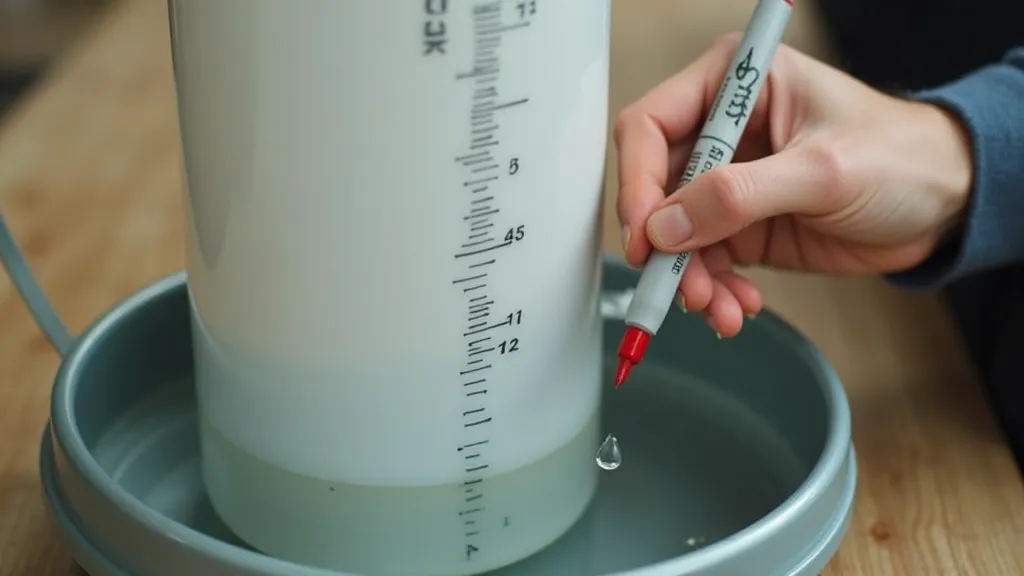
Step 3: Marking the Measurement Scale
This is where accuracy comes into play. We need to create a measurement scale on the side of the container. The easiest method is to use a known volume of water. Understanding the science behind weather measurement is just as important as building the equipment itself. For instance, even small variations in temperature can significantly influence measurements. If you want to understand how temperature affects weather readings and broader meteorological patterns, Understanding Dew Point: A Critical Weather Factor can provide deeper insights.
Step 3b: Important Considerations for Accuracy
While this method is straightforward, remember that the surface tension of water can slightly affect the meniscus (the curved upper surface of the water). Try to read the bottom of the meniscus when marking the levels for better precision. Also, the materials of your container can sometimes influence readings. While plastic is generally inert, some metals could potentially interact with rainwater.
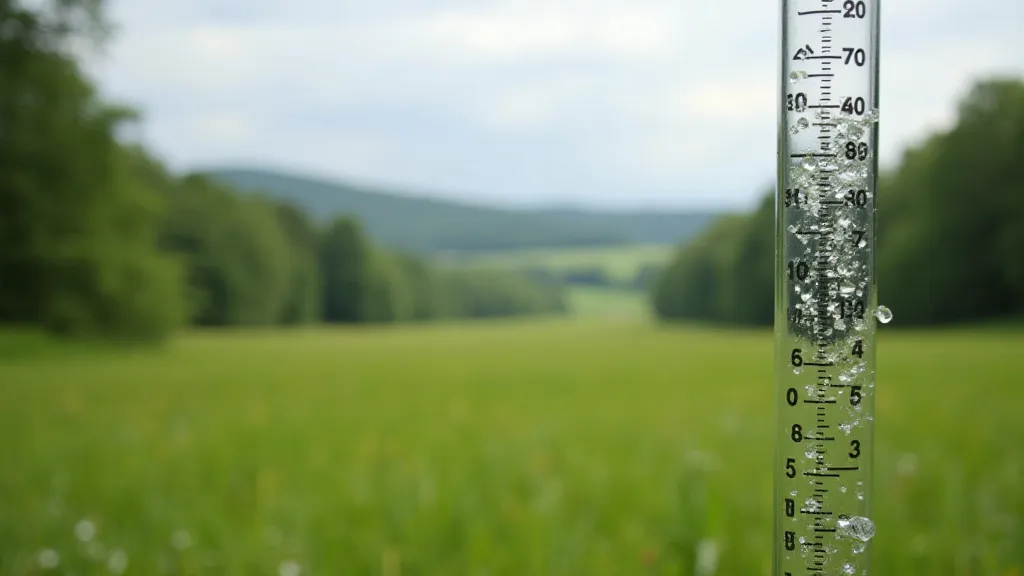
Step 4: Calibration (Important for Accuracy!)
While the markings are a good start, the rain gauge might need to be calibrated to improve accuracy. This accounts for the slight curvature of the container, which can distort readings. A commercial rain gauge usually has a funnel on top, and this changes the volume. If you want to emulate this, you can also add a funnel but measure the changes in volume to calibrate the rain gauge accurately. The complexities of weather phenomena are vast, and even seemingly simple measurements like rainfall can be subject to various influencing factors. Even understanding the science behind the formation of clouds and their impact on precipitation is essential for fully appreciating weather data. If you are interested in learning more about how clouds form and how they are studied, take a look at The Science Behind Clouds: A Weather Station Perspective.
Step 6: Troubleshooting Common Calibration Issues
Calibration can sometimes be tricky. Here are a few common problems and solutions:
- Inconsistent Readings: Check for debris in the rain gauge. Ensure the ground is level.
- Readings Significantly Different from Official Sources: Double-check your markings. Consider the container material’s potential influence.
- Erratic Readings: Wind can significantly impact readings. Choose a sheltered location.
Step 7: Placement and Maintenance
Choose an open location for your rain gauge, away from buildings, trees, or any obstructions that could block rainfall. Ensure the ground is level. Cleaning your rain gauge is crucial for accurate readings. Algae and debris can accumulate over time, distorting the collected water volume. Check the markings for fading and re-mark as needed. Regular maintenance is as important as the initial construction.
Step 2b: Advanced Rain Gauge Designs
The simple bottle gauge described above is a great starting point, but several other designs exist for those seeking greater accuracy or advanced features.
Different Rain Gauge Designs
Further Exploration: Weather Station Equipment Considerations
Building a rain gauge is just one piece of the puzzle when setting up a comprehensive weather station. Considerations for other sensors include wind speed, temperature, humidity, and barometric pressure. Each sensor has its own unique challenges regarding accuracy, placement, and maintenance. Ensuring proper calibration and understanding the limitations of each instrument is vital for collecting reliable weather data. The goal isn's only to build the tools, but to understand how to interpret what they are measuring.
Conclusion
Building a simple rain gauge is a fantastic first step in creating your own DIY weather station. It's a rewarding project that combines hands-on construction with an introduction to meteorology. With careful construction, regular maintenance, and a touch of scientific curiosity, you'll be well on your way to becoming a weather-savvy observer of the world around you. Happy monitoring!