Connecting Your Weather Station to the Internet (Simple Options)
So, you’ve built your DIY weather station! That’s fantastic! Now, you likely want to share your hard-earned data with the world or at least track it over time. Connecting your weather station to the internet opens up a whole new level of functionality. Luckily, it doesn’t have to be complicated. This article explores some simple options for getting your data online.
Why Connect Your Weather Station to the Internet?
Beyond the satisfaction of seeing your data displayed online, there are several compelling reasons to connect your weather station:
- Data Logging & Analysis: Track weather patterns over time and identify trends you might otherwise miss.
- Data Sharing: Contribute to citizen science projects, share your local weather data with friends and family, or even share your data publicly.
- Remote Monitoring: Check your weather station's readings from anywhere with an internet connection.
- Automated Actions: (More advanced, but possible!) Trigger actions based on weather conditions, like closing a greenhouse vent when it rains.
Simple Connection Options
We'll focus on solutions that require minimal programming or advanced technical skills. The core need is a way to transmit data from your microcontroller (like an Arduino or Raspberry Pi) to an internet-connected device.
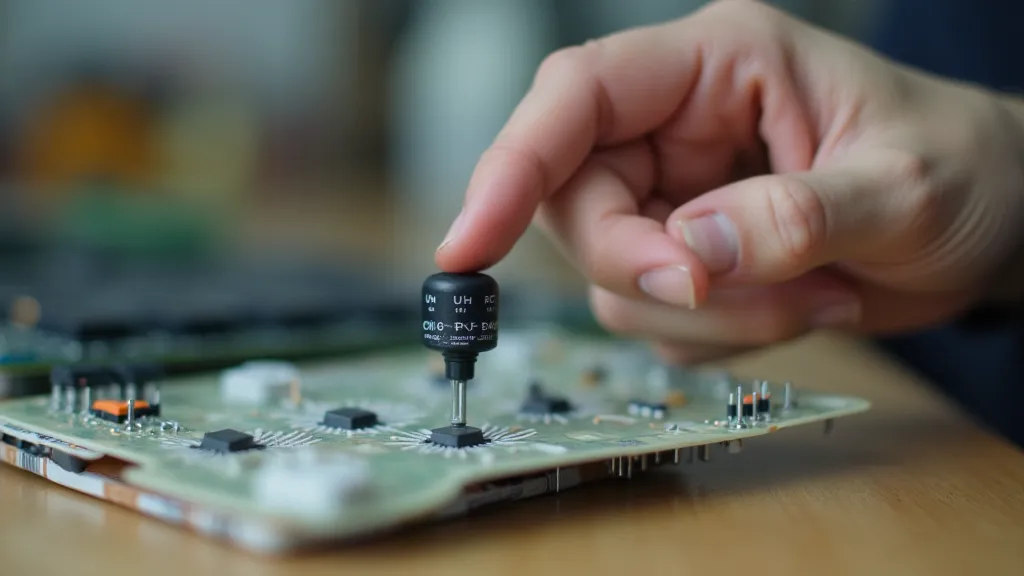
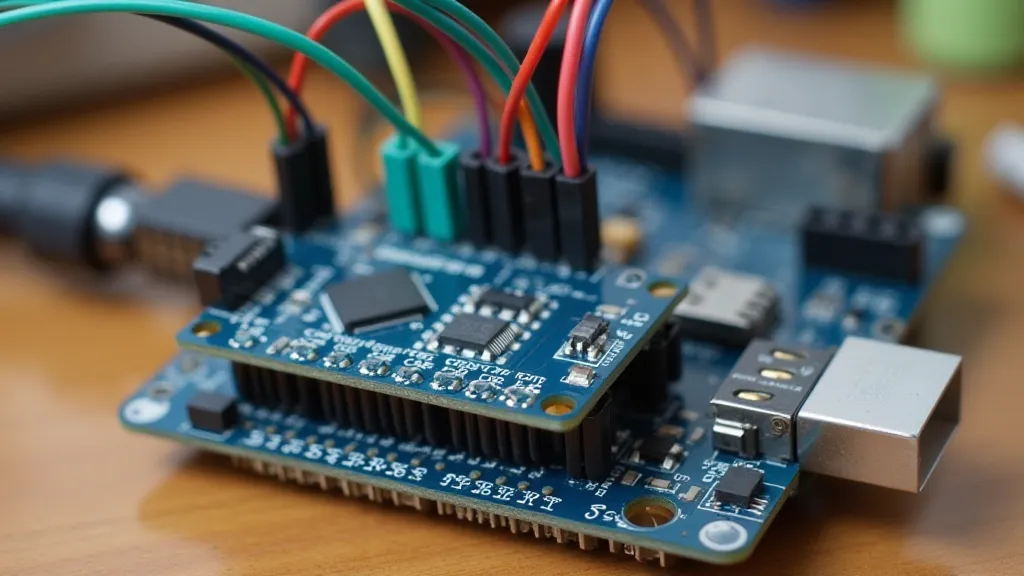
1. Using an ESP8266 Module
The ESP8266 is a low-cost, Wi-Fi enabled microcontroller that's perfect for connecting your weather station. You can connect it directly to your Arduino or Raspberry Pi and use simple libraries to send data. Here's a breakdown:
- Cost: Very affordable (around $5 - $10)
- Programming: Requires basic Arduino programming knowledge, but numerous libraries simplify the process.
- Connectivity: Wi-Fi
- Data Transmission: Can send data to a web server (you’ll need to set one up) or use cloud-based services (discussed below).
Numerous tutorials are available online demonstrating how to integrate an ESP8266 with Arduino and send data to free services like ThingSpeak or Adafruit IO.
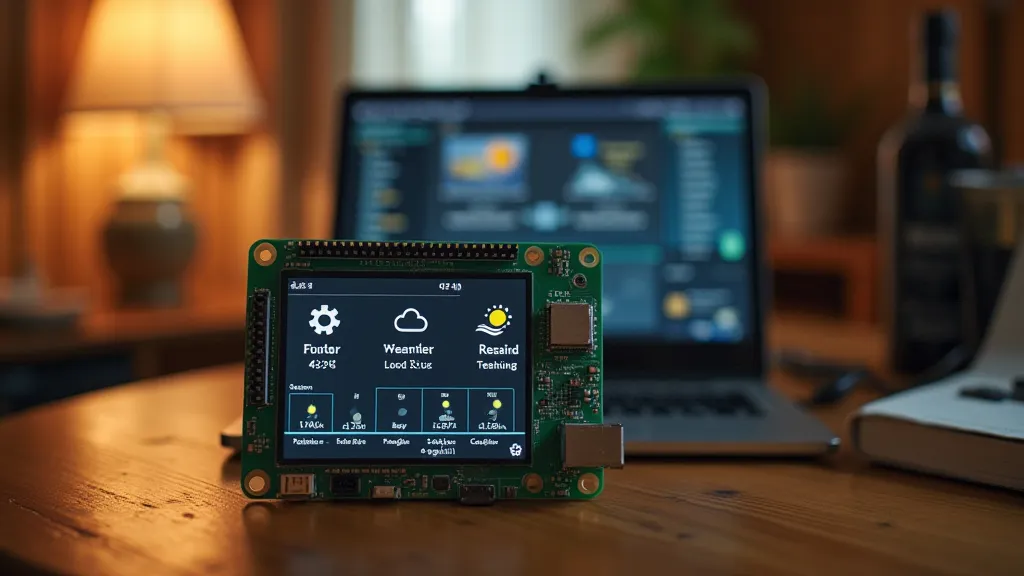
2. Utilizing a Raspberry Pi
If your weather station is already built around a Raspberry Pi, connecting it to the internet is incredibly straightforward. The Raspberry Pi has built-in Wi-Fi and Ethernet capabilities.
- Cost: The Raspberry Pi itself represents a larger upfront cost than an ESP8266.
- Programming: You’ll use Python or another language to write a script that collects weather data and sends it online.
- Connectivity: Wi-Fi or Ethernet
- Data Transmission: Can transmit data to a web server or use cloud-based services.
The Raspberry Pi’s processing power also opens possibilities for more complex data processing and analysis directly on the device.
3. Cloud-Based Services
Several online services simplify the process even further by providing platforms for collecting and displaying weather data. These platforms often offer free tiers for personal use:
- ThingSpeak: A popular choice for IoT data logging and visualization.
- Adafruit IO: Easy-to-use platform for data collection and dashboards.
- Blynk: A platform with a mobile app for remote monitoring and control.
These services typically provide libraries and code examples that make it simple to integrate your weather station's data.
Considerations
- Power: Ensure a reliable power supply for your connected device.
- Security: While these options are generally safe for personal use, be mindful of security best practices if you’re sharing data publicly.
- Data Storage: Cloud-based services may have limitations on data storage or bandwidth.
Connecting your DIY weather station to the internet allows you to expand its functionality and share your meteorological observations. Start with a simple option like the ESP8266 or utilize the built-in capabilities of a Raspberry Pi to embark on your IoT adventure!