Thermometer Calibration: Ensuring Accuracy in Your Weather Station
Accurate temperature readings are crucial for any weather station, whether you're tracking local conditions for personal interest or contributing data to a wider network. Even seemingly small inaccuracies can compound over time, leading to misleading conclusions. This article will guide you through simple methods to calibrate your thermometer, ensuring your DIY weather station provides reliable data.
Why Calibrate Your Thermometer?
Thermometers, like any other measuring device, are susceptible to slight variations in accuracy. Manufacturing tolerances, material changes, and even environmental factors can all contribute to errors. Calibration is the process of comparing your thermometer's readings to a known standard and adjusting it to minimize the difference. A properly calibrated thermometer gives you confidence in your data and helps you understand your local weather patterns more accurately. Before you even think about calibration, it’s important to ensure the entire station is set up correctly, including how you’re measuring rainfall – consider checking out a guide to building a simple rain gauge for a solid foundation.
Simple Calibration Methods
Several straightforward methods can be used to calibrate your thermometer. We'll cover two of the most common.
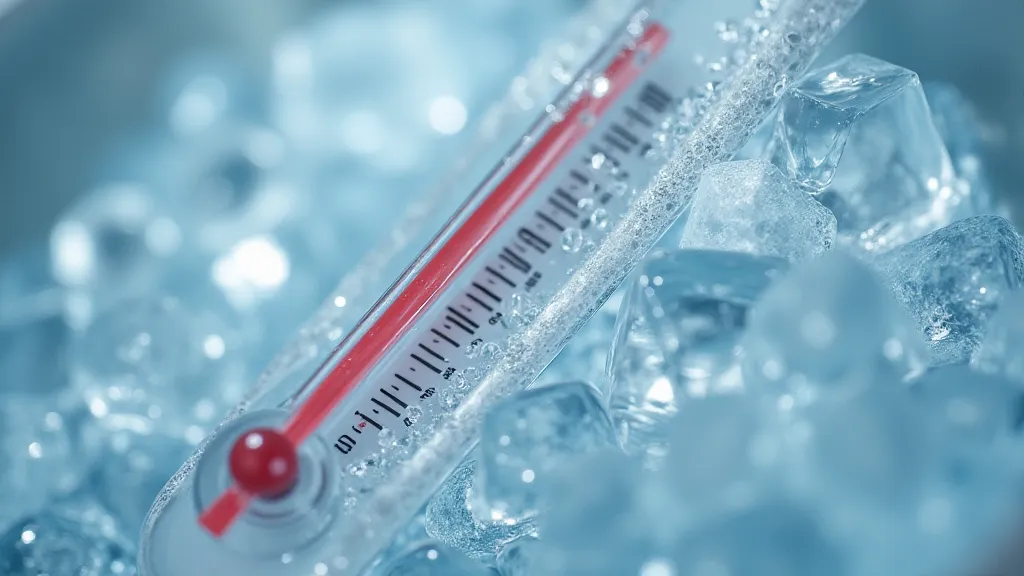
1. The Ice Water Method
This is the most accessible and widely used method. Here's how to do it:
- Prepare an Ice Water Bath: Fill a well-insulated container (like a thermos or a sturdy plastic cup) with ice cubes. Add just enough water to cover the ice. Important: The water should be *ice water*, not just water with ice in it. The more ice, the better the accuracy.
- Wait for Equilibrium: Submerge your thermometer in the ice water, making sure it’s not touching the bottom or sides of the container. Allow the thermometer to sit undisturbed for at least 10-15 minutes. It needs time to reach thermal equilibrium with the ice water mixture.
- Record the Reading: Note the temperature reading your thermometer displays. Ideally, it should read 0°C (32°F).
- Adjust if Necessary: If the reading is off, you can mentally note the error (e.g., "thermometer reads 0.5°C too high"). For digital thermometers, some models allow for a user-adjustable offset.
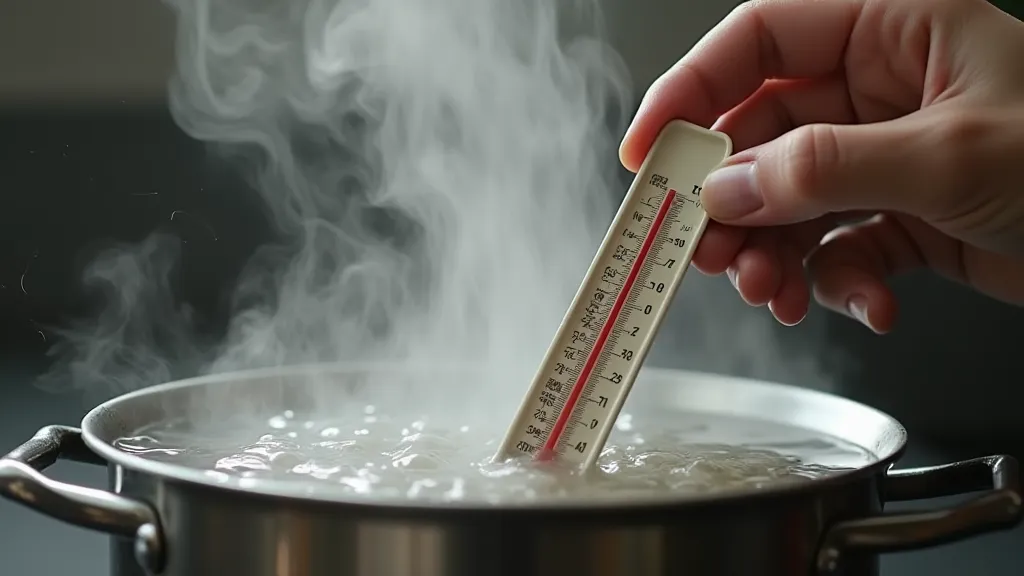
2. The Boiling Point Method (Proceed with Caution)
This method is less common and carries a slight risk. It involves comparing your thermometer’s reading to the boiling point of water. This should only be attempted by individuals comfortable working with hot liquids and proper safety precautions must be followed.
- Boil Water: Bring a pot of distilled water to a rolling boil. Distilled water minimizes impurities that could affect the boiling point.
- Submerge and Record: Once boiling vigorously, submerge your thermometer in the boiling water. Allow it to stabilize.
- Compare to Standard: The reading should be very close to 100°C (212°F) at sea level. Note the difference.
- Adjust if Possible: Similar to the ice water method, use the difference as a correction factor.
Understanding Weather Data: More Than Just Temperature
Calibrating your thermometer is a critical step, but it's just one piece of the puzzle. To truly understand the weather in your area, you need to consider multiple factors, including wind speed and direction. Understanding how these elements interact is key to accurately interpreting the data you collect. While temperature readings are essential, knowing where the wind is coming from is also crucial. Building your own DIY wind vane can add a valuable dimension to your weather station's capabilities.
Common Errors and Considerations
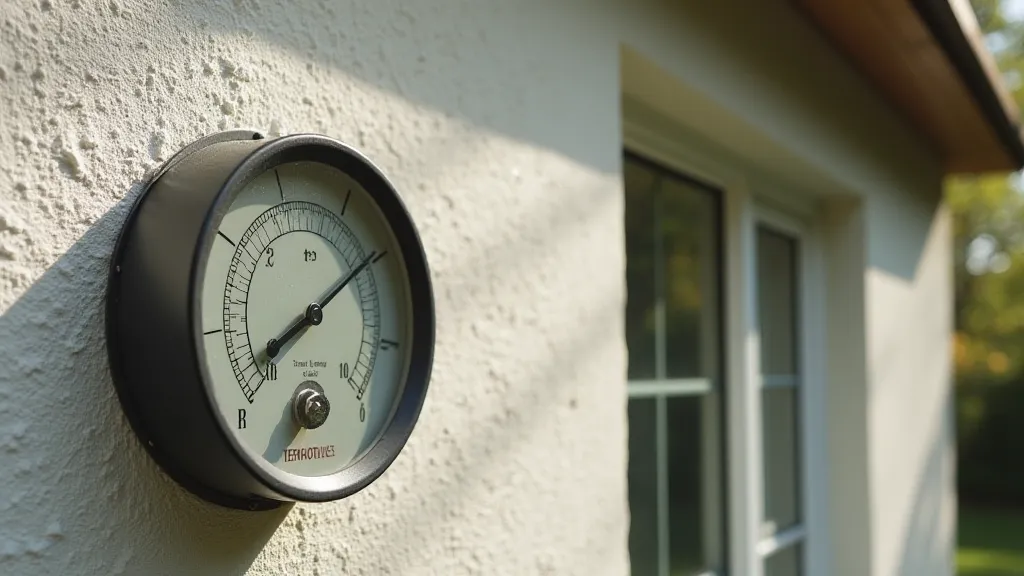
- Thermometer Placement: Ensure your thermometer is shielded from direct sunlight, drafts, and other heat sources. Proper placement is essential for accurate readings.
- Ambient Temperature: The surrounding air temperature can influence readings. Consider this when interpreting the data.
- Thermometer Type: Different types of thermometers (digital, mercury, bimetallic) have varying levels of accuracy. Research the specifications of your thermometer.
- Calibration Drift: Thermometers can drift out of calibration over time. Regular calibration (e.g., every six months) is recommended.
- Interpreting Patterns: It’s not enough to just collect data; you need to be able to understand it. Learning to how to interpret weather patterns can transform raw numbers into valuable insights about your local climate.
Delving Deeper: Advanced Weather Station Considerations
Beyond simple calibration, there are several factors to consider when building and maintaining a truly reliable weather station. The accuracy of your rain gauge is just as important as the accuracy of your thermometer. Regular maintenance and careful observation are key to ensuring the long-term viability of your station. Many home weather enthusiasts find that supplementing their station with data from local weather services helps them verify accuracy and understand broader weather trends.
Troubleshooting Calibration Issues
Sometimes, despite your best efforts, you may encounter persistent calibration issues. This could be due to a faulty thermometer, environmental interference, or even a problem with the placement of your station. If you're consistently getting inaccurate readings, it's worth investigating the underlying cause. Try relocating your station to a different location, shielding it from potential sources of interference, or even replacing the thermometer altogether. Remember, a reliable weather station is a long-term investment, and it's worth taking the time to troubleshoot any issues that arise.
Conclusion
Calibrating your thermometer is a simple but crucial step in building a reliable DIY weather station. By following these methods and paying attention to potential errors, you can significantly improve the accuracy of your temperature data and gain a more complete understanding of the weather in your area. Combining calibrated temperature readings with data on rainfall and wind direction allows you to create a comprehensive weather picture and start noticing trends you might otherwise miss. Your local climate is more than just a number – it’s a complex system, and your weather station is your window into it.