Choosing the Right Location for Your DIY Weather Station
Building a DIY weather station is a rewarding project, allowing you to track local weather patterns and gain a deeper understanding of meteorology. However, having accurate data depends heavily on where you place your weather station. A poorly chosen location can introduce errors and skew your readings, rendering your efforts less valuable. This article details critical factors to consider for optimal site selection.
Why Location Matters
Weather stations measure atmospheric conditions. Those conditions are affected by the surrounding environment. Obstructions, shading, and local microclimates can all influence your readings, making them inaccurate representations of the broader weather patterns. Choosing a site that minimizes these influences is paramount.
Key Factors to Consider
Exposure and Wind
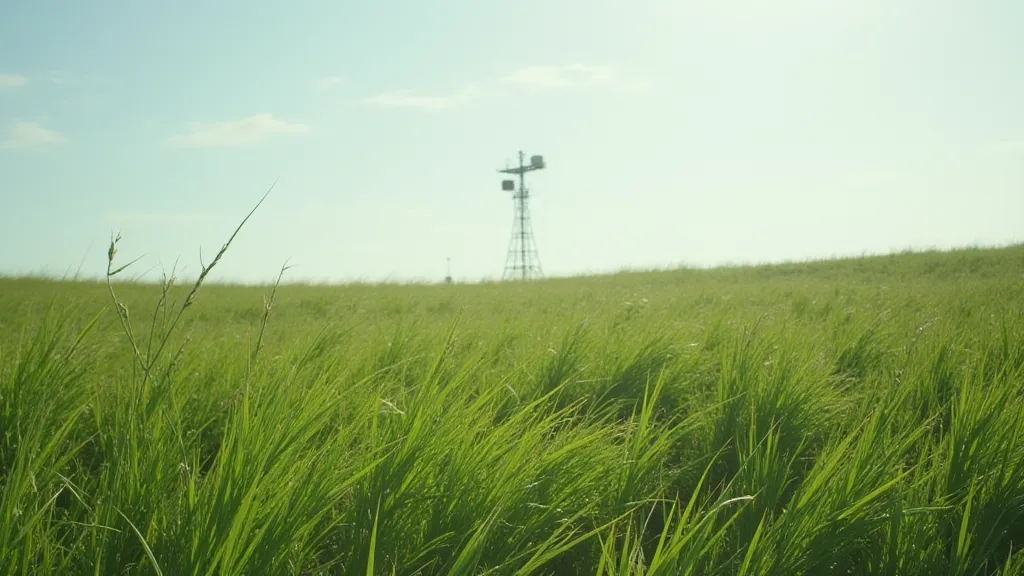
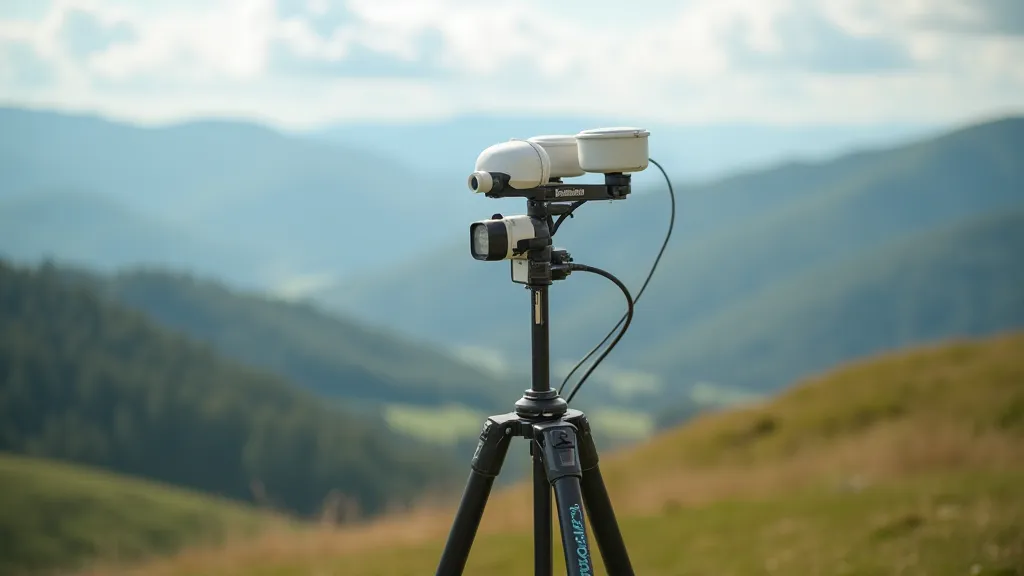
Your weather station needs exposure to prevailing winds. Wind speed and direction data are core measurements, and an obstructed location will significantly underestimate these. Ideally, the anemometer (wind speed sensor) should be at least 10 meters (33 feet) above the surrounding terrain and away from buildings, trees, and other obstacles that could block or redirect the wind. Consider the topography of your area – valleys and depressions can create unique wind patterns.
Shading and Solar Radiation
Direct sunlight can dramatically affect temperature readings, especially for the thermometer and any soil temperature sensors. The station should be shielded from direct sunlight during a significant portion of the day. This doesn’t mean placing it in complete shade, as some solar radiation is necessary for accurate temperature measurements. A good rule of thumb is to ensure the station receives unobstructed sunlight for at least some part of the day but is shaded during the hottest hours. Vegetation can provide shade, but be mindful of how the foliage changes with the seasons.
Proximity to Obstructions
Beyond buildings and trees, consider other potential obstructions:
- Fences and walls: These can create artificial wind tunnels or block wind.
- Radio towers: Can cause interference with data transmission.
- Reflective surfaces: Concrete or asphalt can significantly alter temperature readings.
- Heat sources: Driveways, patios, or air conditioning units can skew temperature measurements.
Terrain and Microclimates
Even seemingly small changes in elevation or ground cover can create localized microclimates. Slopes can experience different temperature profiles than flat areas. Paved surfaces tend to be warmer than grassy areas. Be aware of these variations and choose a location that represents the broader regional climate rather than a specific microclimate.
Height Above Ground
As mentioned earlier, the height of the anemometer is crucial. However, other sensors like the temperature sensor and rain gauge also benefit from being elevated. This helps to minimize the impact of ground-level heat and moisture.
Consider Local Regulations
Before erecting your weather station, check with your local homeowners' association or municipality for any regulations regarding structures or antennas.
Summary: Finding the Sweet Spot
Choosing the right location for your DIY weather station takes careful consideration. By paying attention to exposure, shading, obstructions, and terrain, you can significantly improve the accuracy and reliability of your weather data. A little planning upfront will pay dividends in the quality of your observations and your understanding of the weather.
Final Thoughts
Remember that no location is perfect, but by making informed choices, you can optimize your weather station's performance and enjoy accurate and insightful weather data.