Choosing the Right Location for Your Weather Station: Maximizing Data Accuracy
Building a DIY weather station is a rewarding project, offering valuable insights into local weather patterns. However, the accuracy of your data hinges critically on one often-overlooked factor: the location. A poorly chosen site can introduce significant errors, rendering your readings unreliable and your monitoring efforts largely wasted. This guide explores the essential considerations for selecting a prime location for your weather station, ensuring you capture the most accurate and representative weather data possible.
Why Location Matters So Much
Think of it this way: your weather station is essentially an instrument designed to measure conditions of the open sky and surrounding environment. Anything that interferes with that environment will impact the readings. Temperature, rainfall, wind speed, solar radiation – all these measurements are susceptible to bias if your station is placed in a compromised location. For example, a thermometer shaded by a building will consistently report a lower temperature than the actual air temperature. A rain gauge surrounded by trees will underestimate rainfall.
Key Factors to Consider
Let's break down the key factors that influence site selection:
Sunlight Exposure
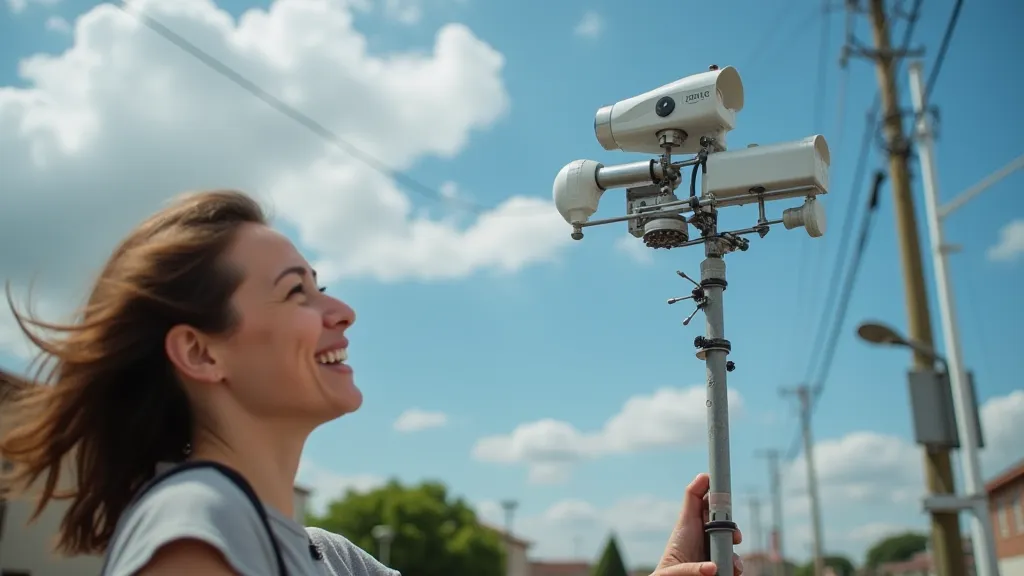
Sunlight plays a crucial role in temperature and solar radiation readings. Ideally, your weather station should be located in an open area with minimal obstruction to direct sunlight. This is particularly vital during the day. Structures like buildings, trees, and even hills can block sunlight, artificially lowering temperature measurements and affecting solar radiation readings. Aim for a location that receives at least 360 degrees of unobstructed view for at least a 20-foot radius. A rule of thumb is to ensure the highest anticipated obstruction isn's closer than twice the height of the obstruction. For example, a 10-foot fence should be at least 20 feet away.
Wind Exposure
Wind speed measurements are significantly affected by obstructions. Wind is slowed and altered by anything in its path – trees, buildings, and even dense vegetation. Your anemometer (wind speed sensor) needs to be exposed to the prevailing winds to provide accurate readings. It's generally recommended that the anemometer is mounted at least 10 meters (33 feet) above the ground and at least 50 feet away from any large objects or buildings. Consider the prevailing wind direction in your area when choosing a site – you want the anemometer to face the most common wind direction. Understanding how to accurately measure wind is key, and if you're starting from scratch, you might be interested in building a simple DIY anemometer to get a feel for how these instruments work before committing to a more complex setup.
Proximity to Structures
Buildings, fences, and walls create turbulence and can significantly impact both temperature and wind readings. As mentioned, they can create shadows, affecting temperature, and disrupt wind patterns. As a general guideline, your weather station should be at least twice the height of any nearby structures away from the station.
Vegetation
Trees and other vegetation can also impact readings. They provide shade, affecting temperature, and can disrupt wind patterns. Additionally, falling leaves, branches, or pollen can contaminate rain gauges and sensors. Ideally, choose a location away from dense vegetation. If that’s not possible, consider the potential impact of nearby trees and adjust your data accordingly. And if you're looking to build your own rain gauge to capture this data, you may want to explore our guide on building a simple rain gauge to get started.
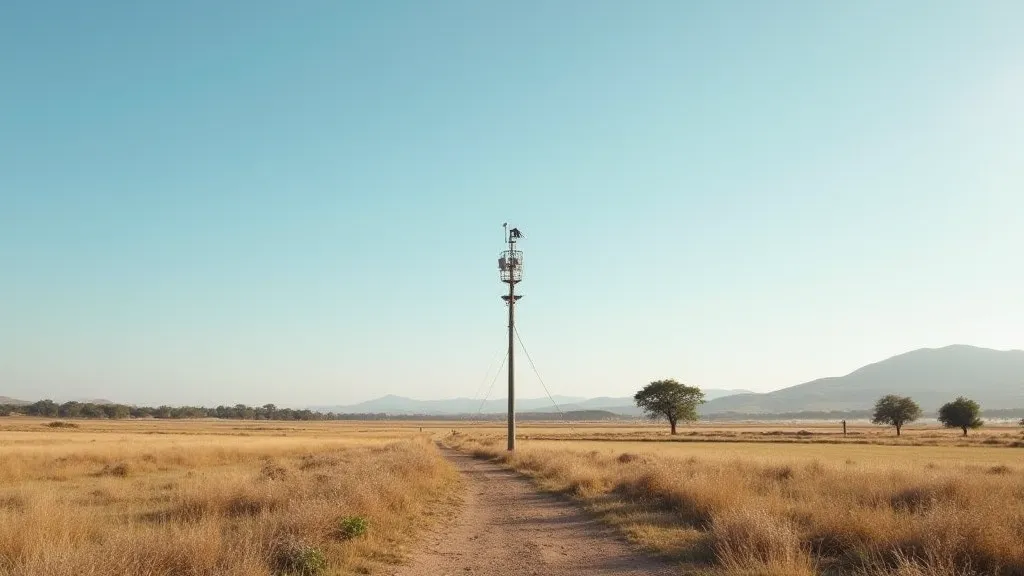
Terrain
Even subtle variations in terrain can create localized microclimates. A valley or depression can be colder than a hilltop, for example. Consider the topography of your area and choose a location that is representative of the broader climate conditions. Understanding the broader patterns requires knowledge of interpreting weather patterns, but the first step is ensuring your station is positioned correctly.
Practical Tips for Site Selection
- Observe the Site: Spend some time observing the potential location at different times of day and throughout the year. Note the sun's path, prevailing winds, and potential obstructions.
- Use a Compass: Use a compass to determine the prevailing wind direction.
- Consider Local Microclimates: Be aware of any localized microclimates in your area.
- Document Your Site: Keep a detailed record of your chosen location, including its coordinates, elevation, and surrounding features.
- Sensor Selection and Understanding: Consider the type of sensors you'll use. A basic understanding of understanding basic weather sensors, such as thermometers, hygrometers, and rain gauges, will help you choose the right tools for accurate data collection.
Advanced Considerations: Addressing Common Pitfalls
While the above factors are fundamental, more experienced weather enthusiasts should also consider these nuanced challenges:
The Impact of Ground Cover
The type of ground cover surrounding your weather station can have a surprisingly large impact on temperature readings. Concrete, asphalt, or even a gravel surface will absorb and radiate heat, leading to artificially higher temperatures compared to areas with grass or vegetation. Ensure your temperature sensor is shielded from these localized heat sources by using a ventilated radiation shield. This shield helps to maintain a more accurate representation of ambient air temperature.
Snow Accumulation and Wind Effects
In areas with snowfall, snow accumulation can significantly alter wind patterns and affect temperature readings. Snow acts as an insulator, trapping heat near the ground and reducing wind speeds. This can lead to underestimation of wind speeds and overestimation of temperatures. Consider mounting your anemometer higher above the ground to minimize the effects of snow accumulation, and be mindful of potential biases in your temperature readings.
Humidity and Evaporation
Humidity readings can be affected by the surrounding environment. Dry, dusty areas can lead to lower humidity readings, while areas with high moisture content can lead to higher readings. Ensure your hygrometer is properly calibrated and shielded from direct sunlight and wind to obtain accurate readings.
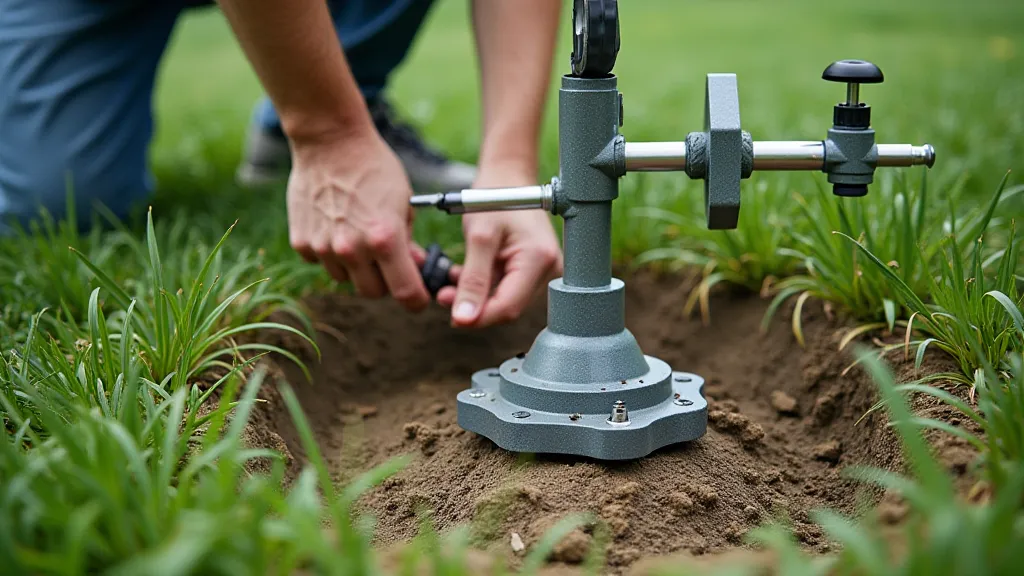
Long-Term Stability and Maintenance
Your weather station is a long-term investment. Choose a location that is accessible for maintenance and repairs. Regularly inspect your sensors and equipment for damage or wear. Calibrate your sensors periodically to ensure accuracy. Protecting your equipment from the elements – particularly extreme weather – will extend its lifespan and ensure the continued reliability of your data.
Final Thoughts
Choosing the right location for your DIY weather station is a crucial step in ensuring accurate and reliable data. By carefully considering the factors outlined in this guide, you can minimize errors and gain a true understanding of your local weather patterns. While it may take some effort to find the perfect spot, the rewards of accurate and insightful weather data are well worth it. With the right planning and attention to detail, your home weather station can become a valuable tool for learning about the climate in your region.