Understanding Basic Weather Instruments: A Beginner's Guide
Building your own weather station is a fantastic science project, and at its heart are a few key instruments. This guide breaks down the essential components – thermometers, barometers, anemometers, and rain gauges – in a simple, easy-to-understand way. We'll cover how they work, what they measure, and why each is critical for accurate weather monitoring. No complicated math, just clear explanations to get you started! Before diving into the specific instruments, consider how you're going to house them. Planning a weather station enclosure is an important first step for ensuring the long-term reliability and accuracy of your setup.
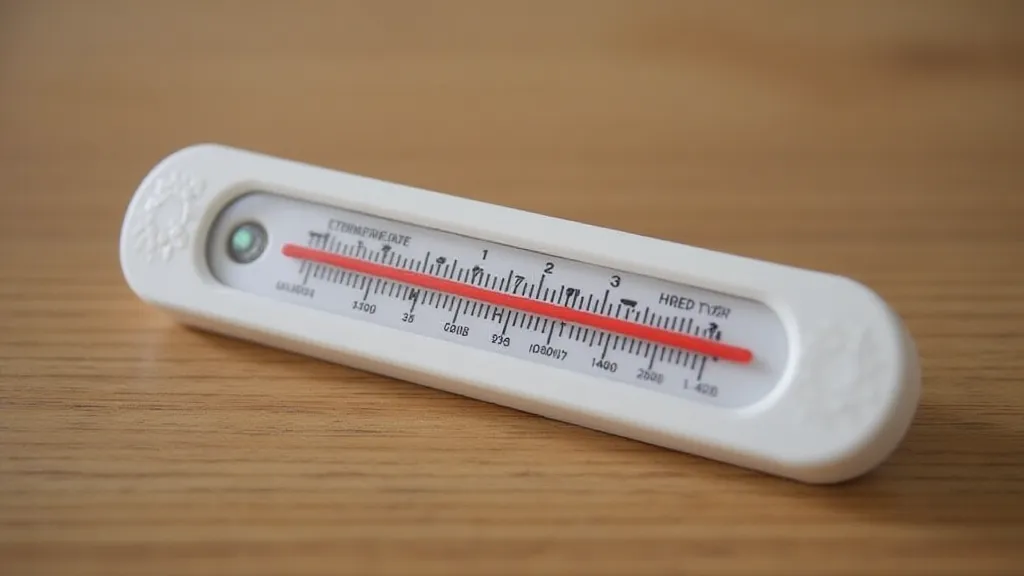
The Thermometer: Measuring Temperature
The thermometer is arguably the most familiar weather instrument. It's all about temperature! Most basic thermometers rely on the principle of thermal expansion. Liquids, like alcohol or mercury (though alcohol is safer for DIY projects), expand when heated and contract when cooled. This change in volume is linked to a scale, providing a temperature reading.
You’ll typically see temperatures measured in Celsius (°C) or Fahrenheit (°F). For DIY weather stations, Celsius is often preferred due to its more direct relationship to the Kelvin scale, which is fundamental in scientific measurements. Understanding the subtle differences in these scales and their impact on readings is key to accurate observations.
The Barometer: Reading Atmospheric Pressure
Atmospheric pressure, also known as barometric pressure, is the weight of the air above a given point. A barometer measures this pressure. Changes in barometric pressure often indicate approaching weather changes. A falling barometer usually means a storm is on its way, while a rising barometer suggests clear skies are coming. Understanding the relationship between air pressure and weather patterns is a cornerstone of meteorology.
Barometers can be either aneroid (mechanical) or digital. An aneroid barometers use a sealed metal chamber that expands and contracts with changes in pressure. Digital barometers use electronic sensors to detect pressure. The choice between these two types often depends on budget and the level of precision required. Accurate pressure readings are vital for forecasting.
Barometric pressure is typically measured in inches of mercury (inHg) or millibars (mb). Understanding how to interpret barometric pressure trends is a key skill for any budding meteorologist. Furthermore, the surrounding environment can impact readings – ensuring your barometer is shielded from direct sunlight and temperature fluctuations is essential.
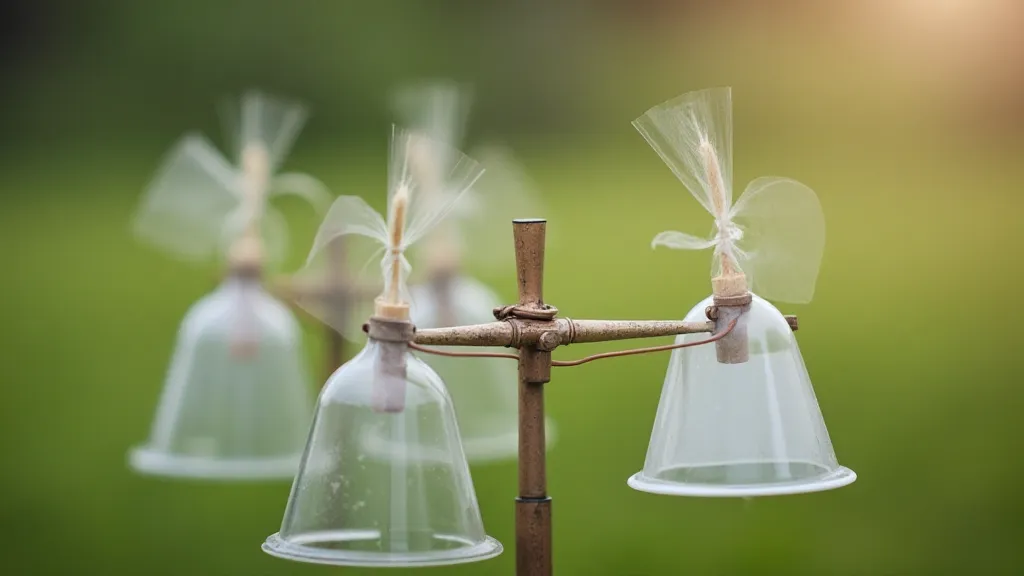
The Anemometer: Gauging Wind Speed and Direction
The anemometer is your tool for measuring wind speed. Most simple anemometers consist of cups attached to a rotating shaft. The faster the wind blows, the faster the cups spin. The rotation speed is then converted into a wind speed reading. It’s important to note that a basic anemometer measures wind *speed* but not direction. To determine wind direction, you’d need a wind vane, and building your own DIY wind vane is a great extension to your weather station project. Knowing both the speed and direction of the wind is crucial for understanding local weather conditions.
Wind speed is commonly measured in miles per hour (mph), kilometers per hour (km/h), or knots (nautical miles per hour). The placement of the anemometer is also critical - it needs to be high enough to avoid obstructions like trees and buildings, which can skew the readings. Consider the prevailing wind patterns in your area when selecting a location.
The Rain Gauge: Recording Precipitation
The rain gauge, also known as a pluviometer, is used to measure rainfall. A basic rain gauge is essentially a container with a funnel that collects rainwater. The amount of water collected is then measured, typically in inches or millimeters. Understanding how rainfall is measured and categorized is important for appreciating the scope of precipitation events.
There are two main types: manual and tipping bucket. Manual rain gauges require you to physically measure the water level, while tipping bucket rain gauges automatically record rainfall as the bucket tips. Automatic gauges offer convenience but can be more expensive. Consistent and accurate rainfall measurements contribute significantly to long-term weather analysis.
Beyond the Basics: Considering Humidity and Dew Point
While we’re focusing on the four fundamental instruments, seasoned weather enthusiasts often incorporate humidity measurements into their observations. Humidity, and particularly the understanding dew point, provides a valuable insight into the potential for condensation and cloud formation. These additional factors can significantly impact the perceived temperature and overall comfort level.
Choosing the Right Instruments for Your Weather Station
When selecting instruments for your DIY weather station, consider your budget, the level of accuracy you desire, and your technical skills. You can find affordable, readily available options for each instrument. Don't be afraid to experiment! Building a weather station is a journey of learning and discovery. For instance, while digital instruments offer ease of use, they require power and can be susceptible to electronic interference. Mechanical instruments, on the other hand, are robust and reliable but might require more frequent calibration.
Common Pitfalls to Avoid
Building a weather station is a rewarding experience. By understanding the principles behind these basic instruments, you'll be well on your way to becoming a skilled weather observer! Remember to meticulously document your setup and observations, as these records become invaluable for tracking trends and deepening your understanding of local weather patterns. Furthermore, consider the impact of your local environment on your readings, and always strive for accuracy and consistency in your data collection. With practice and careful observation, you're sure to gain a greater appreciation for the complexities of the weather around you.