Building a Davis Cup Rainfall Collector
Understanding rainfall is a vital component of any weather station. The Davis Cup rainfall collector, a standardized and relatively simple design, provides accurate and consistent readings. This guide details how to build your own Davis Cup rain gauge and integrate it into your DIY weather station. Building a robust weather station often involves more than just a rain gauge; understanding the environment around it - humidity, wind speed - adds a whole layer of detail. For those new to the process, "Understanding Basic Weather Instruments: A Beginner's Guide" provides a great overview of the tools and principles involved.
What is a Davis Cup Rain Gauge?
The Davis Cup rain gauge is a widely accepted standard for measuring rainfall. Its design consists of a funnel that collects rain into a calibrated cylinder. The consistent design minimizes errors and allows for comparisons with official meteorological data. This makes it a valuable addition to your DIY weather monitoring setup.
Why Accurate Rainfall Data Matters
Rainfall data isn't just about knowing how much it rained yesterday. It’s a critical piece of information for a variety of applications, from agriculture and water resource management to flood prediction and climate studies. Accurate rainfall measurements provide a baseline for analyzing trends, understanding local climate patterns, and making informed decisions about everything from irrigation schedules to emergency preparedness.
Materials You'll Need
- A 12-inch diameter circular piece of material (e.g., sturdy plastic, wood, or metal) – for the funnel’s base
- A cylindrical container, ideally clear plastic or glass, with a capacity of at least 10 inches (25.4 cm). Marked with measurements in millimeters.
- Strong adhesive (waterproof and suitable for your materials)
- A straight edge or ruler
- Pencil or marker
- Drill (if necessary for mounting)
Step-by-Step Instructions
Step 1: Preparing the Funnel Base
If your base isn't already a perfect circle, use a compass or other circular guide to draw a 12-inch diameter circle on your chosen material. Cut out the circle precisely. This base will funnel the rainfall into the collection cylinder.
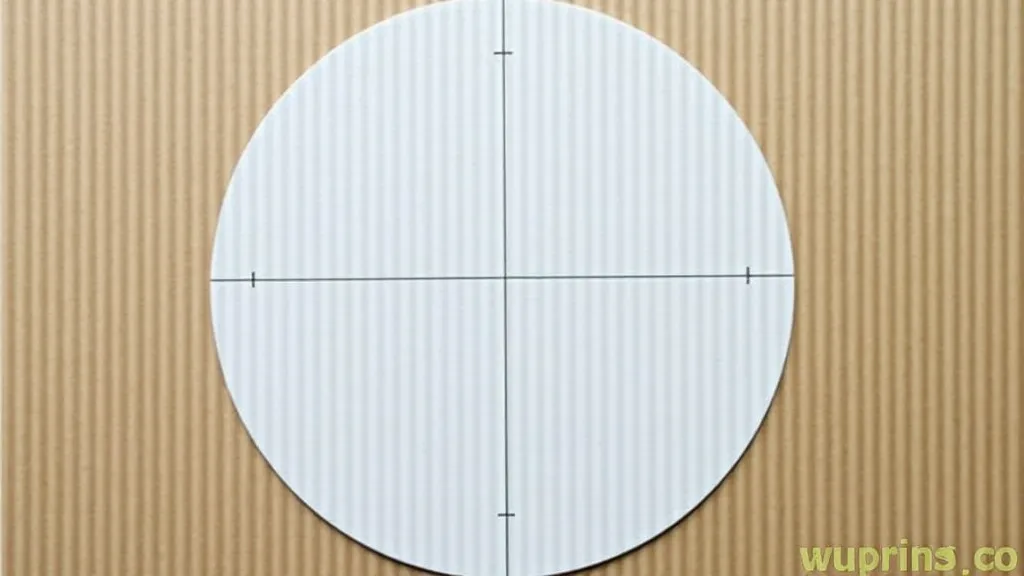
Step 2: Creating the Funnel Slope
The key to a good Davis Cup rain gauge is a properly sloped funnel. Carefully mark a line approximately 2 inches from the edge of the circular base, creating a slight inward slope. This slope directs the rain into the cylinder below. Accuracy here is important for precise measurements.
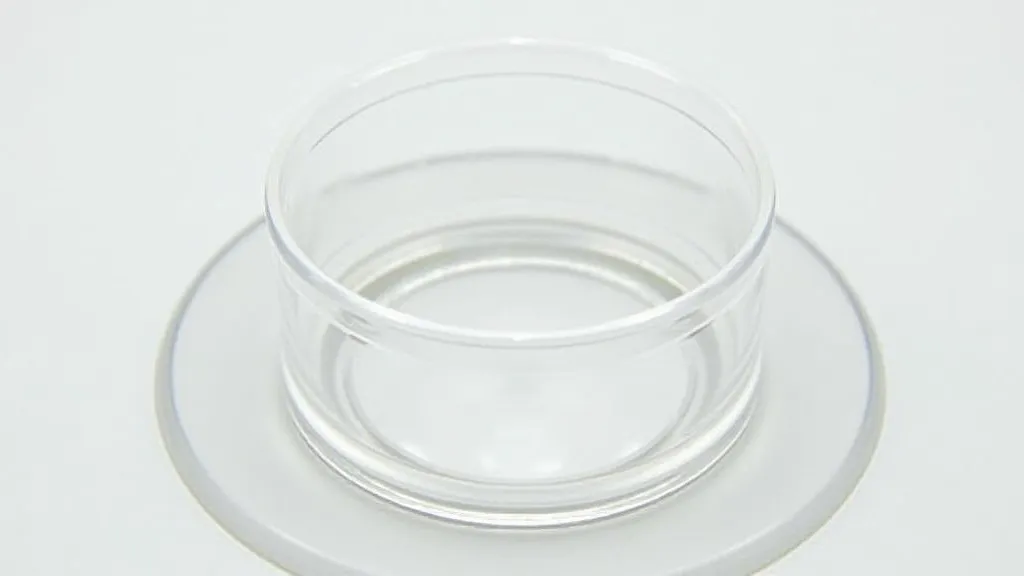
Step 3: Attaching the Cylinder
Carefully center the cylindrical container onto the funnel base. Apply a generous amount of waterproof adhesive around the base of the cylinder, ensuring a watertight seal. Allow the adhesive to dry completely according to the manufacturer’s instructions. This secure attachment is critical to prevent leaks and maintain the integrity of your rain gauge.
Step 3b: Considerations for Material Choice
The materials you select for your Davis Cup rain gauge can impact its longevity and accuracy. Plastic is a readily available and inexpensive option, but it can degrade over time due to UV exposure. Wood offers a more natural look and feel, but requires regular sealing to prevent rot. Metal is durable and resistant to the elements, but can heat up in direct sunlight, potentially affecting readings. Understanding humidity is also crucial when selecting materials and applying sealants, as excessive moisture can accelerate degradation.
Step 4: Calibration (Optional but Recommended)
While the design itself is standardized, it's a good idea to verify your rain gauge's accuracy. You can do this by comparing your readings to a nearby official weather station or using a known volume of water to calibrate the markings on the cylinder. Furthermore, using a DIY anemometer to measure wind speed alongside rainfall data provides a more complete picture of the weather conditions.
Step 5: Mounting Your Rain Gauge
Choose an open location away from trees, buildings, or other obstructions that could interfere with rainfall collection. The gauge should be mounted so that the top of the funnel is approximately 12 inches above the ground. A simple wooden post or mounting bracket will work well.
Integrating with Your Weather Station
Your newly built Davis Cup rain gauge can now be integrated into your existing weather station. Record rainfall measurements regularly and log them alongside other data points like temperature, humidity, and wind speed. This comprehensive data will provide valuable insights into your local weather patterns. To automate this data collection and analysis, consider using a microcontroller to connect your rain gauge to a data logger or online platform.
Troubleshooting
- Inaccurate Readings: Ensure the funnel is level and free from obstructions. Calibrate your gauge if necessary.
- Leaks: Check the adhesive seal and reapply if needed.
- Damage: Inspect the gauge regularly for any signs of damage and replace parts as needed.
- Wind Interference: Even slight breezes can affect the amount of rain collected. Ensure the gauge is positioned in a relatively sheltered area, or consider adding a small windbreak.
Expanding Your Weather Station: Advanced Measurements
The Davis Cup rain gauge is a foundational element of a DIY weather station, but it’s just the beginning. To gain a more complete understanding of your local climate, consider adding other instruments to your setup. Measuring soil moisture can provide valuable insights into water availability for plants, while monitoring atmospheric pressure can help you predict changes in the weather. A barometer can also be incorporated, providing another data point for tracking weather patterns.
Long-Term Data Management and Analysis
The real power of a weather station lies not just in collecting data, but also in analyzing it over time. Regularly reviewing your rainfall records can reveal long-term trends, seasonal variations, and the impact of climate change. Consider using spreadsheet software or specialized weather analysis tools to visualize your data and identify patterns. Proper data management is key to extracting meaningful insights from your weather station.
Safety Precautions
When building and maintaining your DIY weather station, always prioritize safety. Wear appropriate personal protective equipment (PPE), such as gloves and eye protection, when working with tools and adhesives. Be mindful of electrical hazards when connecting electronic components. And always supervise children when they are near the weather station.
Conclusion
Building a Davis Cup rain gauge is a rewarding project that adds a valuable component to your DIY weather station. With careful construction and regular maintenance, your rain gauge will provide accurate and consistent rainfall data for years to come, enhancing your understanding of local meteorology. Remember, continuous learning and experimentation are key to improving your weather station and gaining a deeper appreciation for the complexities of the natural world.