Understanding Basic Weather Instruments: A Beginner's Guide
Building your own weather station is a rewarding project, blending science, engineering, and a bit of DIY ingenuity. But before you start assembling, it's crucial to understand the tools of the trade – the instruments that collect the data you’re aiming to monitor. This guide introduces the essential components of a basic weather station and explains how they work. Whether you’re a complete beginner or have some science project experience, this will set you up for success.
The Thermometer: Measuring Temperature
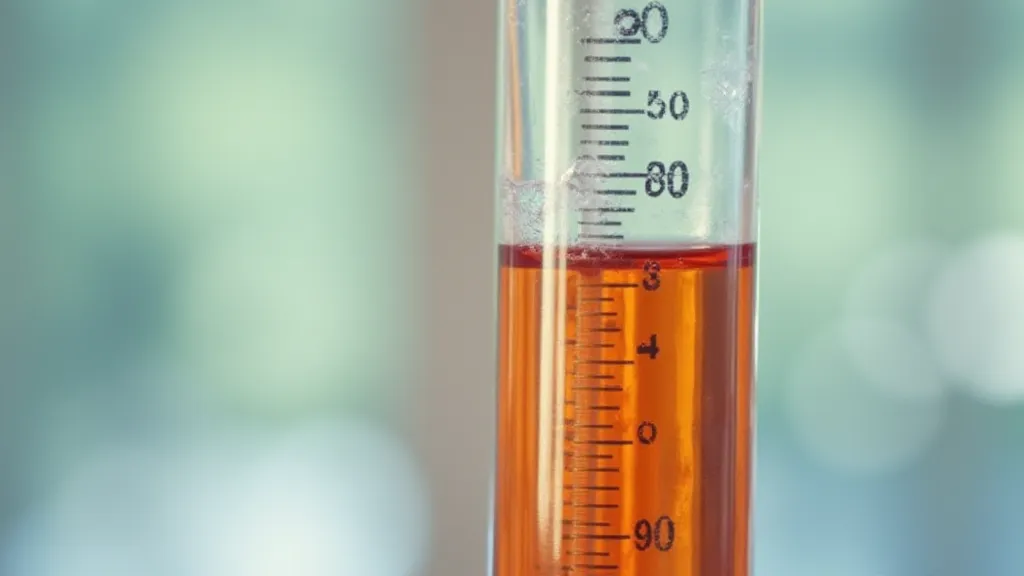
The thermometer is arguably the most recognizable weather instrument. Its primary function is to measure air temperature. There are different types, including liquid-in-glass (alcohol or mercury), bimetallic strip, and digital thermometers. For a DIY project, a simple liquid-in-glass thermometer is often the easiest to integrate, although digital thermometers offer more precise readings and potentially data logging capabilities.
How it Works: Liquid-in-glass thermometers rely on the principle of thermal expansion. As temperature increases, the liquid (alcohol or mercury) expands, causing the column to rise within the calibrated glass tube. Digital thermometers use electronic sensors that convert temperature into an electrical signal, which is then displayed on a screen.
Choosing a Thermometer: Consider the accuracy you need. For casual monitoring, a standard thermometer is sufficient. If you need more precise readings, invest in a higher-quality digital thermometer. Proper shielding from direct sunlight is essential for accurate readings.
The Barometer: Measuring Atmospheric Pressure
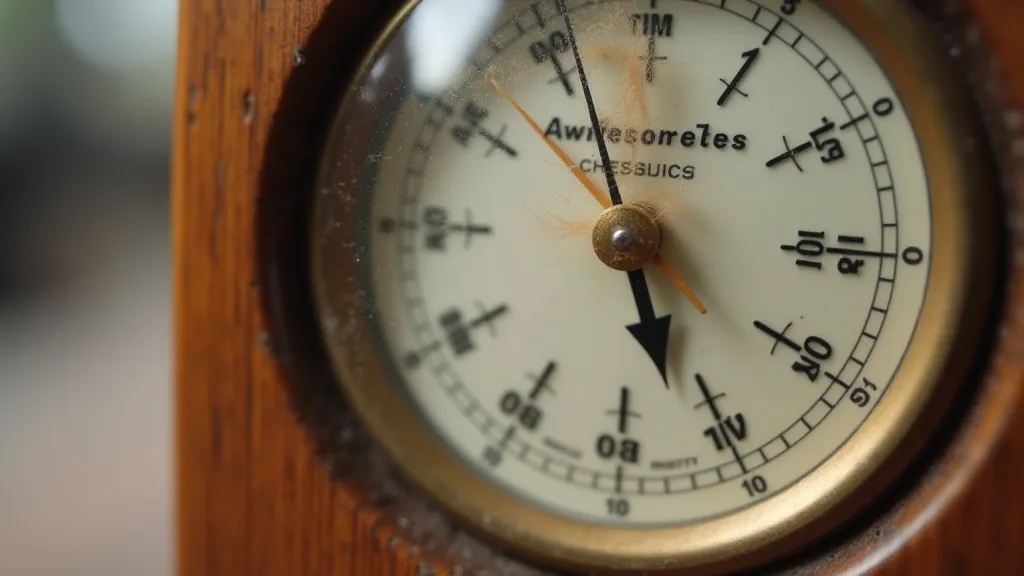
Atmospheric pressure, also known as barometric pressure, is the weight of the air above a given point. A barometer measures this pressure. Changes in barometric pressure often indicate approaching weather changes – falling pressure often precedes storms, while rising pressure suggests clear skies.
How it Works: Traditional barometers use a column of mercury, the height of which corresponds to the atmospheric pressure. Aneroid barometers use a small, sealed metal box (aneroid cell) that expands and contracts with pressure changes. These changes are mechanically linked to a pointer that indicates the pressure on a dial.
Choosing a Barometer: Aneroid barometers are generally preferred for DIY projects because they don't require mercury. Look for a barometer with a clear dial and a robust design.
The Hygrometer: Measuring Humidity
Humidity refers to the amount of moisture in the air. A hygrometer measures this humidity level. Knowing the humidity can help you understand the "feels like" temperature and potential for condensation or precipitation.
How it Works: There are different types of hygrometers. Psychrometers use two thermometers – one dry and one wet. The difference in their readings is used to determine relative humidity. Capacitive hygrometers use a capacitor whose electrical properties change with humidity. Hair hygrometers use the principle that human hair expands and contracts with humidity changes.
Choosing a Hygrometer: For a beginner’s DIY project, a simple capacitive or hair hygrometer is a good choice. Digital hygrometers often combine humidity and temperature readings.
The Anemometer: Measuring Wind Speed
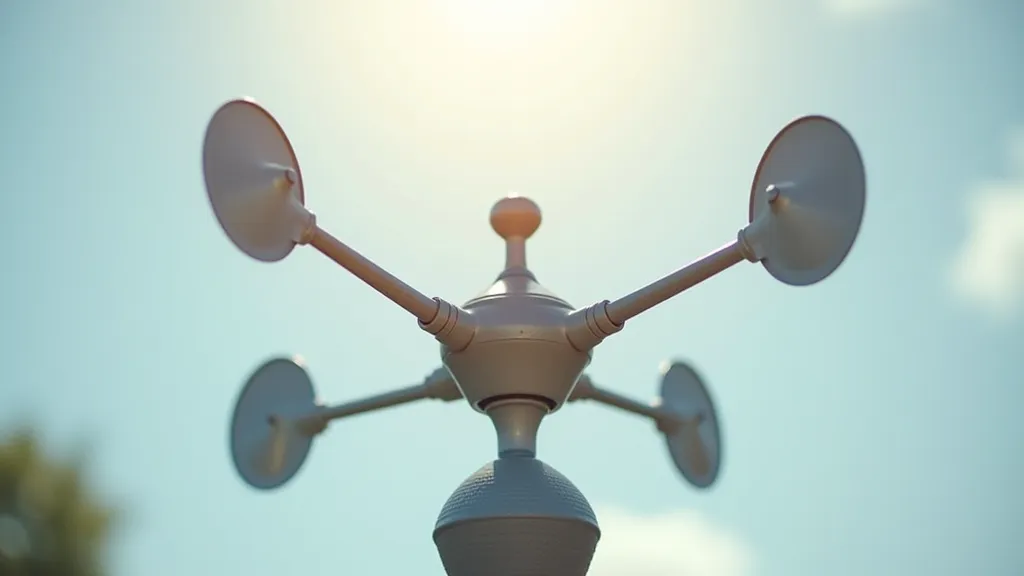
An anemometer measures wind speed. Knowing the wind speed is vital for understanding weather patterns and potential hazards.
How it Works: Most anemometers consist of rotating cups or a propeller. As wind blows, the cups or propeller rotates, and the rate of rotation is proportional to the wind speed. The rotation rate is then measured and converted into a wind speed reading.
Choosing an Anemometer: Cup anemometers are common and relatively easy to construct. Digital anemometers are also available and often offer more accurate readings. Ensuring the anemometer is mounted securely and freely to rotate is crucial.
Putting it All Together
Choosing the right weather instruments is the first step in building your own weather station. By understanding how each instrument works, you can select the best options for your project and interpret the data you collect with confidence. Remember to carefully calibrate your instruments and shield them from direct sunlight and precipitation for accurate readings.